
Revit API using Python - Example
1. Import libraries
import clr
clr.AddReference("ProtoGeometry")
from Autodesk.DesignScript.Geometry import *
# Import RevitAPI
clr.AddReference("RevitAPI")
from Autodesk.Revit.DB import *
clr.AddReference("RevitAPIUI")
from Autodesk.Revit.UI import TaskDialog
# Import DocumentManager and TransactionManager
clr.AddReference("RevitServices")
from RevitServices.Persistence import DocumentManager
from RevitServices.Transactions import TransactionManager
# Import ToProtoType, ToRevitType geometry conversion extension methods
clr.AddReference("RevitNodes")
import Revit
clr.ImportExtensions(Revit.GeometryConversion)
2. Access the the Revit Document/Application
doc = DocumentManager.Instance.CurrentDBDocument
uiapp = DocumentManager.Instance.CurrentUIApplication
app = uiapp.Application
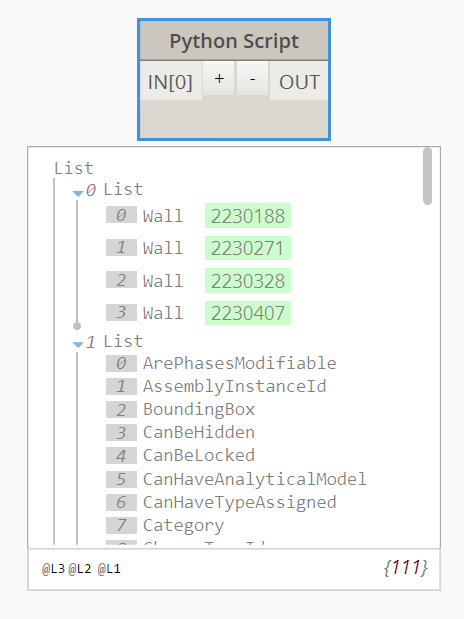
3. Select Elements
walls = FilteredElementCollector(doc).OfClass(Wall).ToElements()
OUT = walls, dir(walls[0]) #Return the walls and the methods that can be used
4. Extract parameters
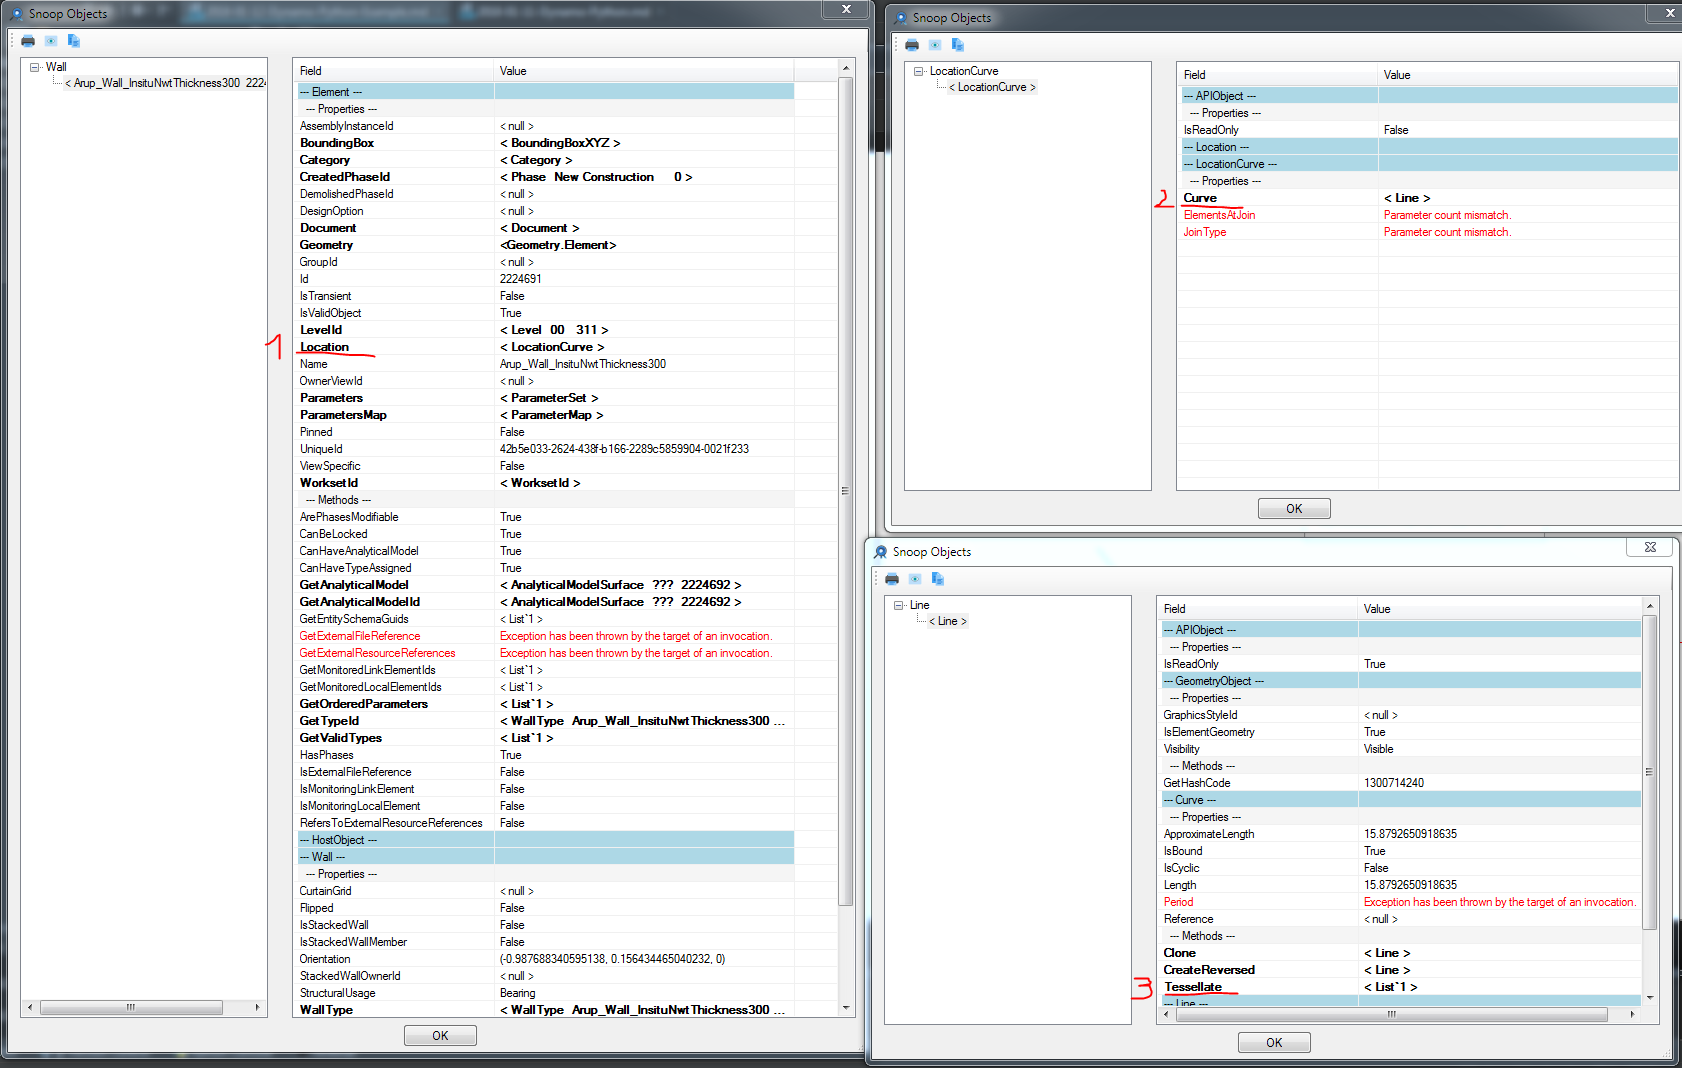
Let’s extract the Wall location. We can get find the method using dir(walls[0]) or the Revit Lookup:
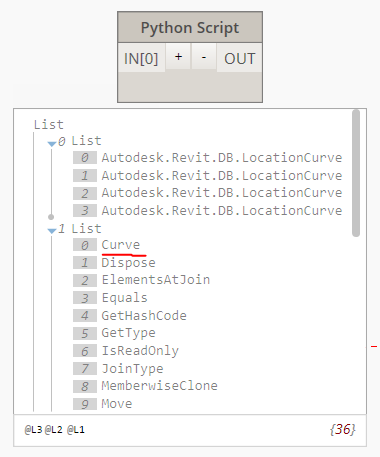
locCrvs = [] #Create an empty list to store the curves
for w in walls:
	locCrvs.append(w.Location)
#Assign your output to the OUT variable.
OUT = locCrvs
If we try to convert the output to a Dynamo line using ToProtoType() we get an error. That’s because we need to extract the Curve from the LocationCurve first. This can be seen both from Revit Lookup and the dir(locCrvs[0]) output (there isn’t a ToProtoType() method and there is a Curve method).
 So if we run:
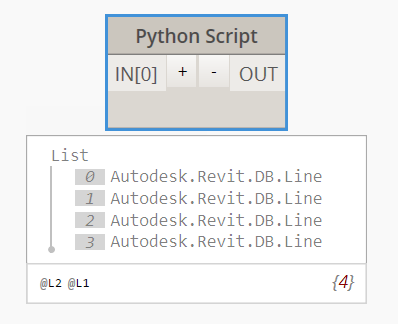
locCrvs = [] #Create an empty list to store the curves
for w in walls:
	locCrvs.append(w.Location.Curve)
#Assign your output to the OUT variable.
OUT = locCrvs
The output is finally a Revit line:
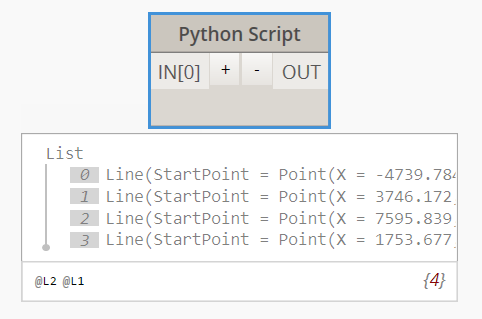
 We can use the ToProtoType() method to it into a Dynamo line:
locCrvs.append(w.Location.Curve.ToProtoType())
5. Create a line load
Let’s now see how can we create a line load at the bottom of the wall. First of all let’s check on revitapidocs which method should we use.
- The method is available from Revit 2016 and it has not been modified since, this can be seen at the top of the page.
- The class is LineLoad and it has 3 different ways to create a line load. We want to create a line load from a line so we pick the third one.
- This class is part of the Autodesk.Revit.DB.Structure namespace so we need to load that in our python script.
We can find a description of each parameter at the bottom of the page:
public static LineLoad Create(
	Document aDoc,
	XYZ startPoint,
	XYZ endPoint,
	XYZ forceVector,
	XYZ momentVector,
	LineLoadType symbol,
	SketchPlane plane
)
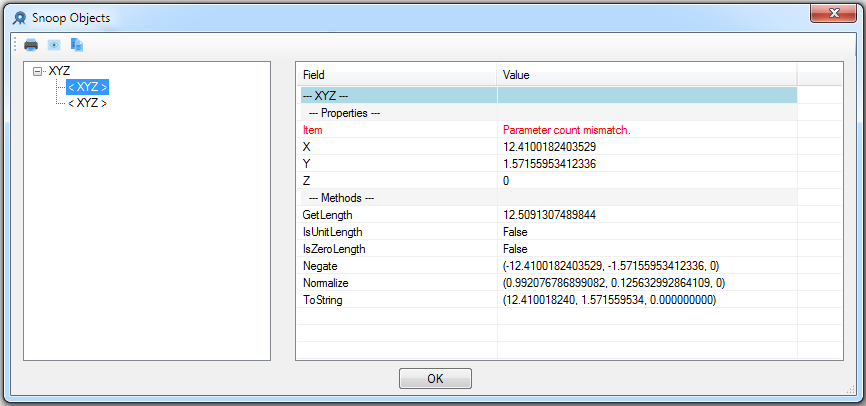
We already have the Document so we can get the start and end point of our LineLoad. Let’s assume that we want them to be the same as the wall location curve. We can use RevitLookup to find a method that gives us the start and end points:
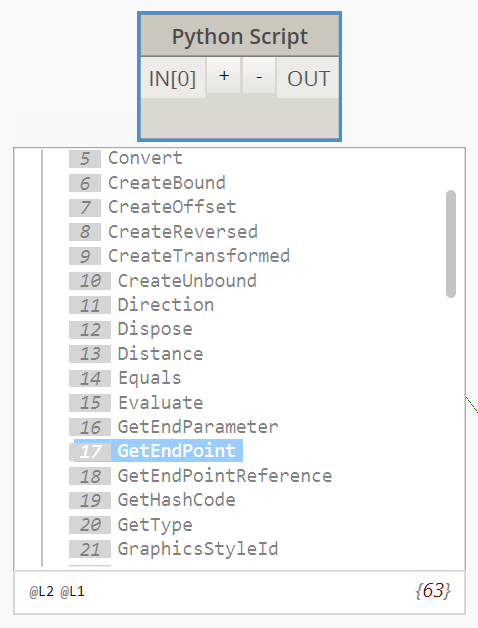
or we can use the dir() method inside the python script. This will show us that there is a method called GetEndPoint that we can use:
This will give us the start and end points:
for w in walls:
	locCrvs = w.Location.Curve
	stPt = locCrvs.GetEndPoint(0)
	endPt = locCrvs.GetEndPoint(1)
forceVector and momentVector are just points. We can create them using XYZ()
XYZ(0,0,-100)
LineLoadType and Sketchplane can be set to null (None in python) to use the default values. Because we are modifying the Revit project we need to create a transaction. We can use the Dynamo Transaction framework:
TransactionManager.Instance.EnsureInTransaction(doc)
for w in walls:
    ...
TransactionManager.Instance.TransactionTaskDone()
or the Revit API one, which allows us to give a name to the transaction (which will be shown in the undo list):
transaction = Transaction(doc)
transaction.Start("Create Line Loads")
for w in walls:
    ...
transaction.Commit()
Last thing, the LineLoad Class is part of the Autodesk.Revit.DB.Structure namespace (shown at the top of the revitapidocs page). Therefore we need to add that to our script:
clr.AddReference("RevitAPI")
from Autodesk.Revit.DB import *
from Autodesk.Revit.DB.Structure import LineLoad
The completed script will be:
import clr
clr.AddReference("ProtoGeometry")
from Autodesk.DesignScript.Geometry import *
# Import RevitAPI
clr.AddReference("RevitAPI")
from Autodesk.Revit.DB import *
from Autodesk.Revit.DB.Structure import LineLoad
clr.AddReference("RevitAPIUI")
from Autodesk.Revit.UI import TaskDialog
# Import DocumentManager and TransactionManager
clr.AddReference("RevitServices")
from RevitServices.Persistence import DocumentManager
from RevitServices.Transactions import TransactionManager
# Import ToProtoType, ToRevitType geometry conversion extension methods
clr.AddReference("RevitNodes")
import Revit
clr.ImportExtensions(Revit.GeometryConversion)
doc = DocumentManager.Instance.CurrentDBDocument
uiapp = DocumentManager.Instance.CurrentUIApplication
app = uiapp.Application
walls = FilteredElementCollector(doc).OfClass(Wall).ToElements()
locCrvs = [] #Create an empty list to store the curves
lLoad = []
transaction = Transaction(doc)
transaction.Start("Create Line Loads")
#TransactionManager.Instance.EnsureInTransaction(doc,"Create Line Loads")
for w in walls:
	locCrvs = w.Location.Curve
	stPt = locCrvs.GetEndPoint(0)
	endPt = locCrvs.GetEndPoint(1)
	lLoad.append(LineLoad.Create(doc, stPt, endPt, XYZ(0,0,-10000), XYZ(0,5000,0), None, None))

#TransactionManager.Instance.TransactionTaskDone()
transaction.Commit()
#Assign your output to the OUT variable.
OUT = lLoad