From Dynamo to Macro to External Commands
Dynamo is a good tool but scripts deployment, version compatibility, non OOTB nodes and the need to start Dynamo or to launch a script from the player can sometimes represent an obstacle.
For the most used nodes it may be worth to convert them into external commands or bespoke buttons in the toolbar.
The visual scripting process and the constant debugging (that can be done simply by checking the outputs of the individual nodes) represent a first step into proper coding. It helps to subdivide the problem into small chunks of code and to follow the flow of data, its transformation and its structure passing from one node to the other.
With this image in mind I think it’s easier to write the same script in C#, in a macro first and then to create an external command in Visual Studio. The advantage of an external command over the other options is the accessibility from Revit through a keyboard shortcut, which increase the productivity and helps to develop a personal workflow in the creation of models or documentations.
This workflow is essential to adapt the software to the user needs and stimulating his creativity more than force him to adapt and follow actions created by others (software developer) that sometimes are convoluted or lack in immediacy.
Let’s have a look at this script that places the active view on a selected sheet:
All the magic happens in SteamNodes’s python script:
Reading through the script we can see Viewport.Create which is the instructions that tells Revit to create a new Viewport at a given location on a sheet.
In order to understand how this command works we can go to the RevitAPIdocs website and search Viewport:
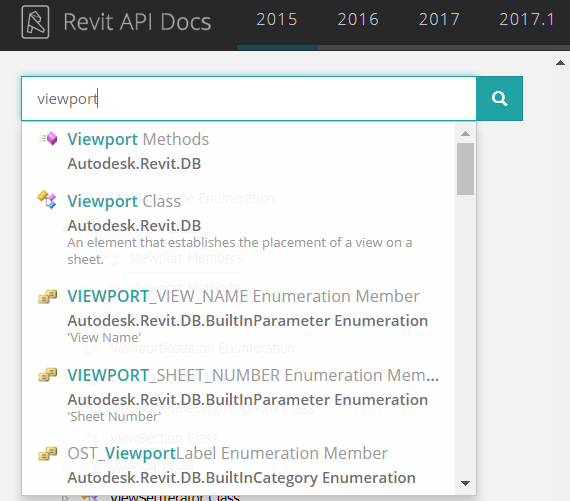
You can see that there are two Viewport items: Methods and Class. If you select Viewport Class you will see that methods are a subdirectory of the viewport class (along with members and properties):
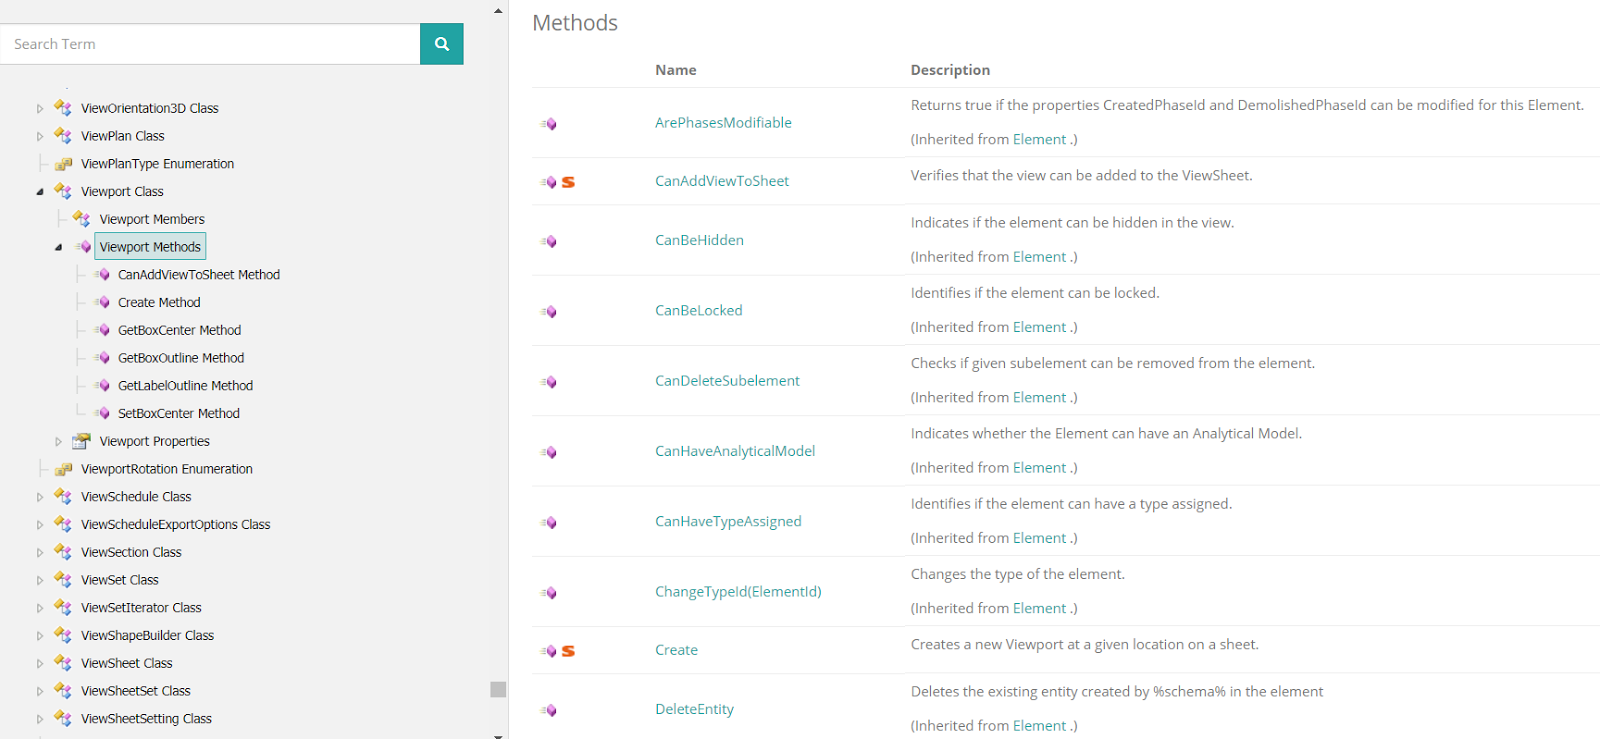
In simple words, a class is like a family type and a method is what you can do with that family. In this case you can “Return the center of the outline of the viewport on the sheet, excluding the viewport label” (GetBoxCenter) or you can “Move this viewport so that the center of the box outline (excluding the viewport label) is at a given point” (SetBoxCenter). Let’s focus on the Create method:
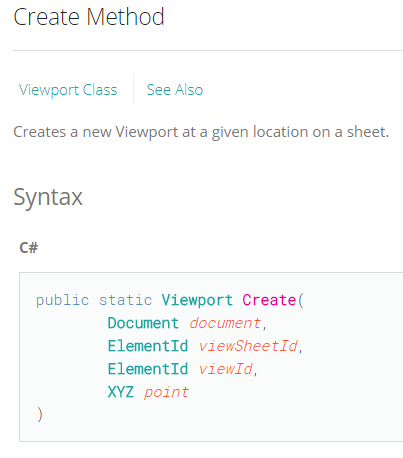
The arguments between the parenthesis are the inputs we need to provide to this method in order to get our viewport on a sheet. If you notice, sheet, view and point are also the inputs of the custom node while document is not explicitly required (but it’s defined at the beginning of the python script):
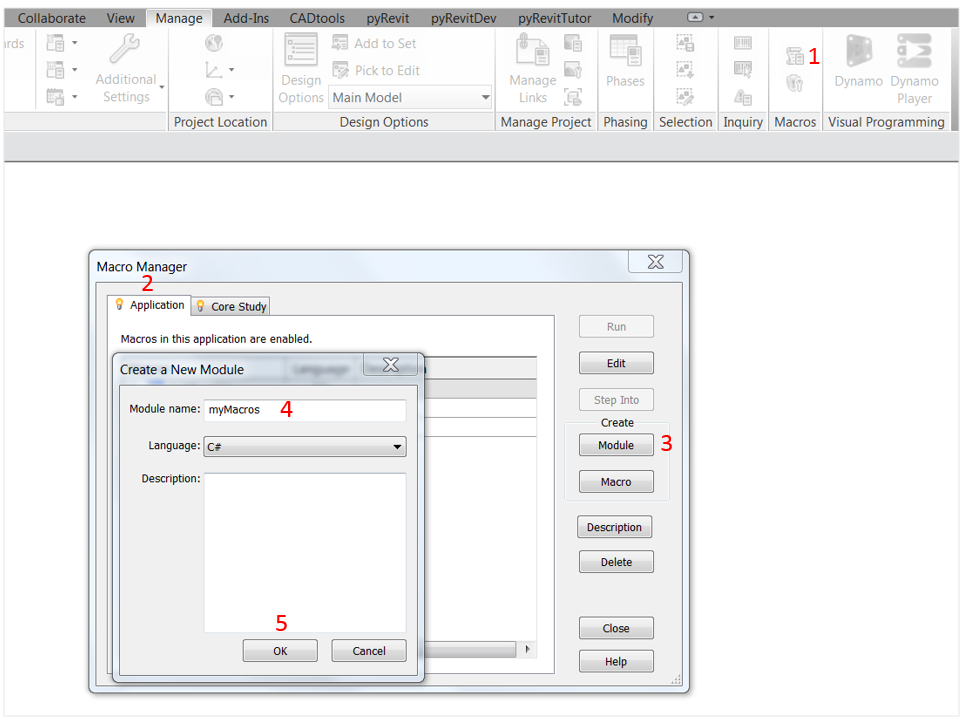
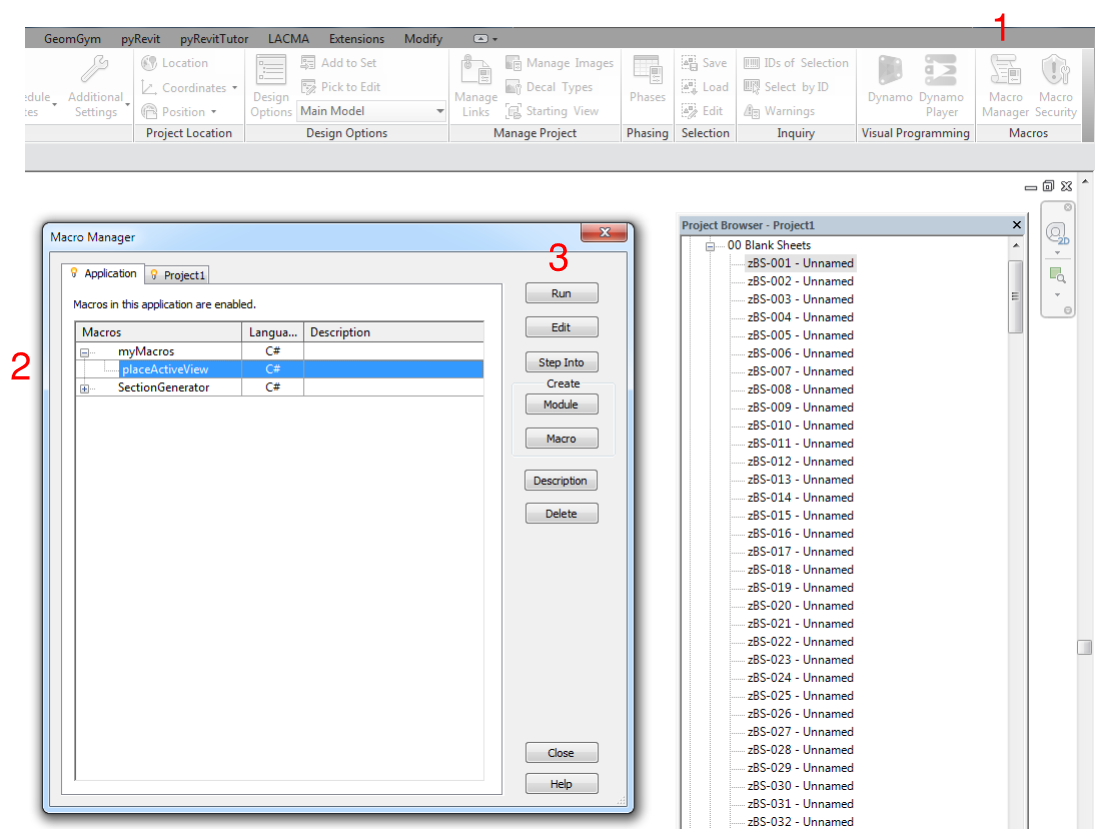
So how do we convert this script into a macro? Let’s open the Macro Manager and create a new module called myMacros in the Application panel:
Macros can reside either in the active project file or within the application. Macros saved within the project file can be used by any user who opens that file. Macros saved in the application are saved to the user’s Revit configuration. These macros can be used on any model file, but only by the user who created the macro. You can find a detailed explanation of how to create your first macro here.
Once you press ok, Revit will open a new window. This is called Sharp Develop and it is an integrated development environment in which we will be writing the macro. The command:
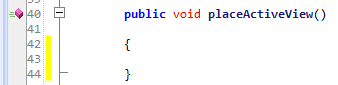
will create a macro called placeActiveView accessible by other macros in this module (public) that will place our view on a sheet without returning any object (void).
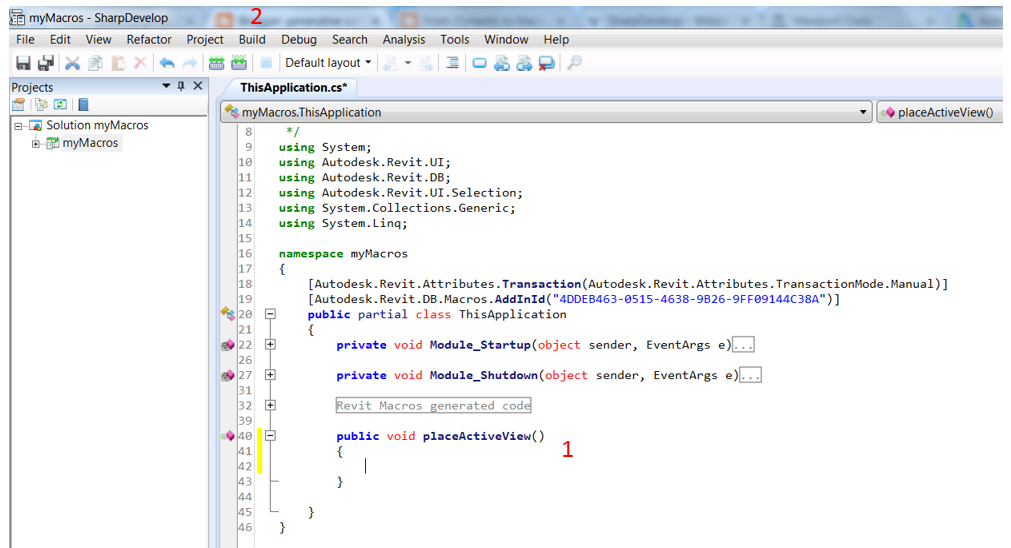
If we build the solution (Build -> Solution or F8) and we close the Sharp Developer we will see that our macro has appeared under the myMacros module. Let’s click Edit and go back to Sharp Develop.
Every macros start accessing the project opened:
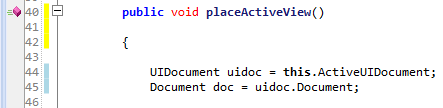
Autodesk.Revit.UI.UIDocument - provides access to UI-level interfaces for the document, such as the contents of the selection and the ability to prompt the user to make selections and pick points.
Autodesk.Revit.DB.Document - provides access to all other document level properties
If multiple documents are open, the active document is the one whose view is active in the Revit session.
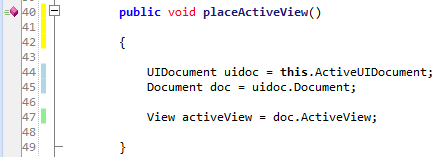
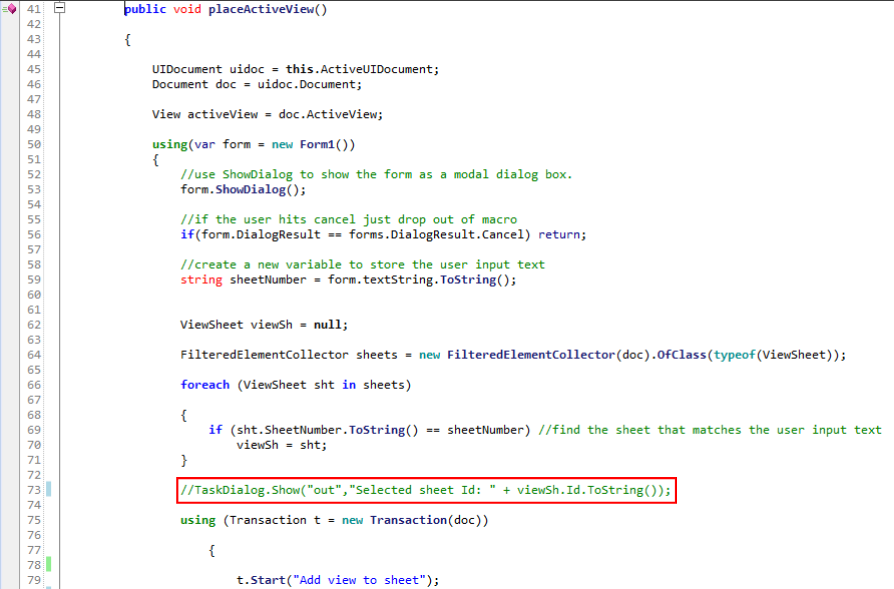
In our case we also want to get the active view:
Let’s now get the sheet where the view will be placed.
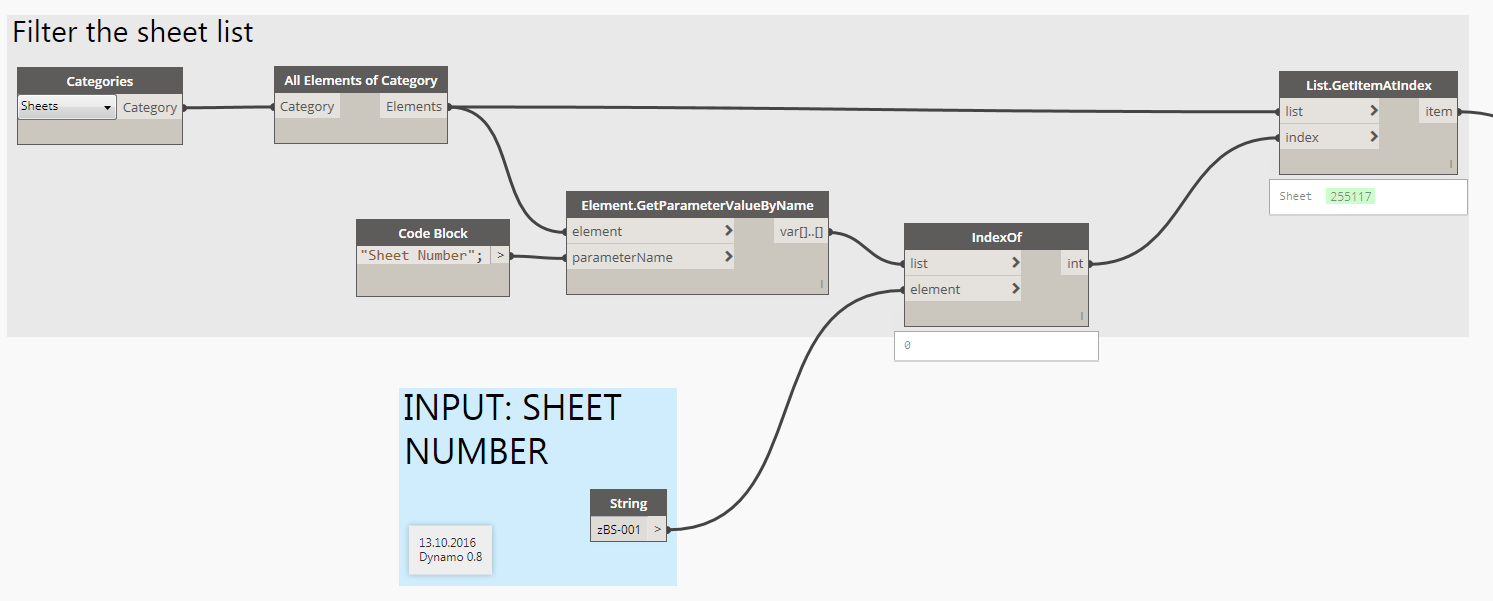
In Dynamo we would create a list with all the elements of the Sheets category, retrieve their Sheet Number and find the one that matches the desired one:
Which is the equivalent of:
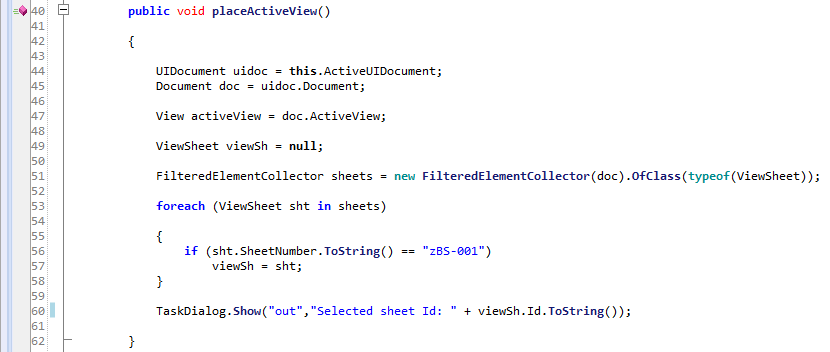
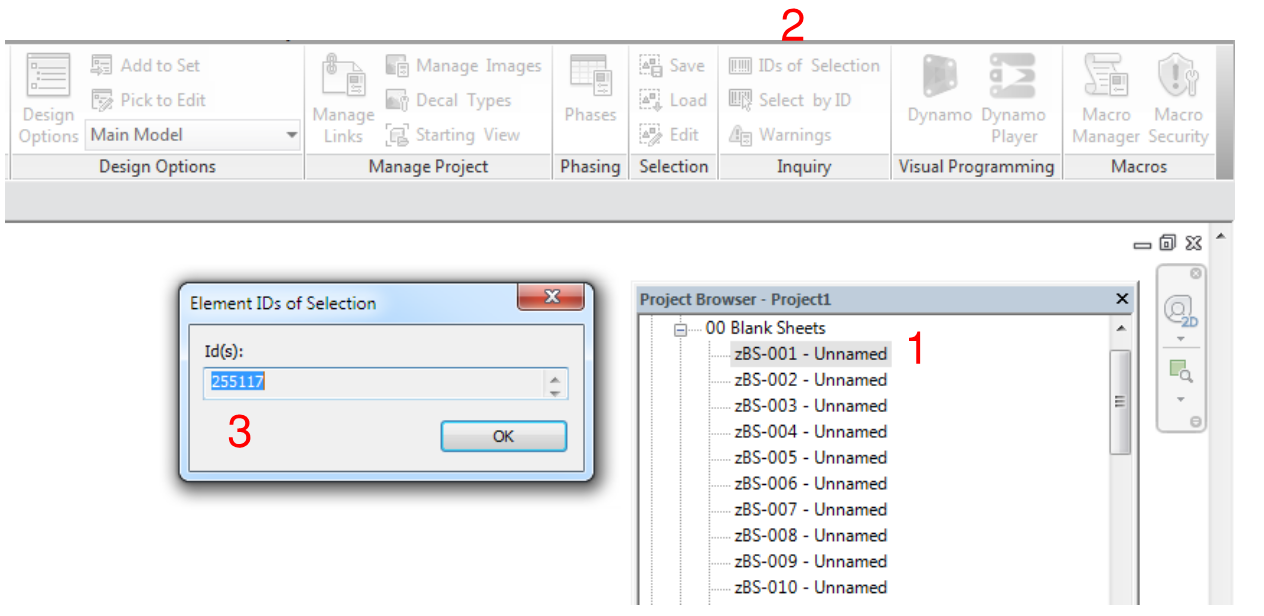
We first create a variable viewSh where the sheet will be stored [49]. Then we use a FilteredElementCollector to select all the sheets in the current project [51]. Then we cycle through them and when the sheet number matches the desired one we append the sheet in our variable [53-58]. We can then visualise the sheet Id in a Task Dialog to double check it’s the correct one.
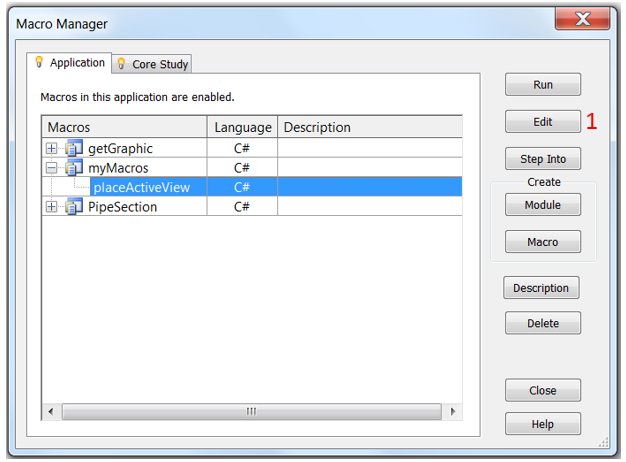
To run the macro we first need to build it (F8) and then run it from the macro manager:
The output will simply be the Task Dialog with the sheet zBS-001 Id:
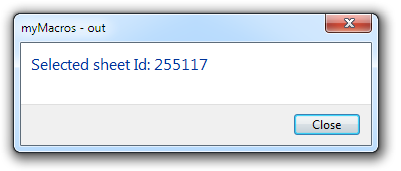
Which is what we were expecting:
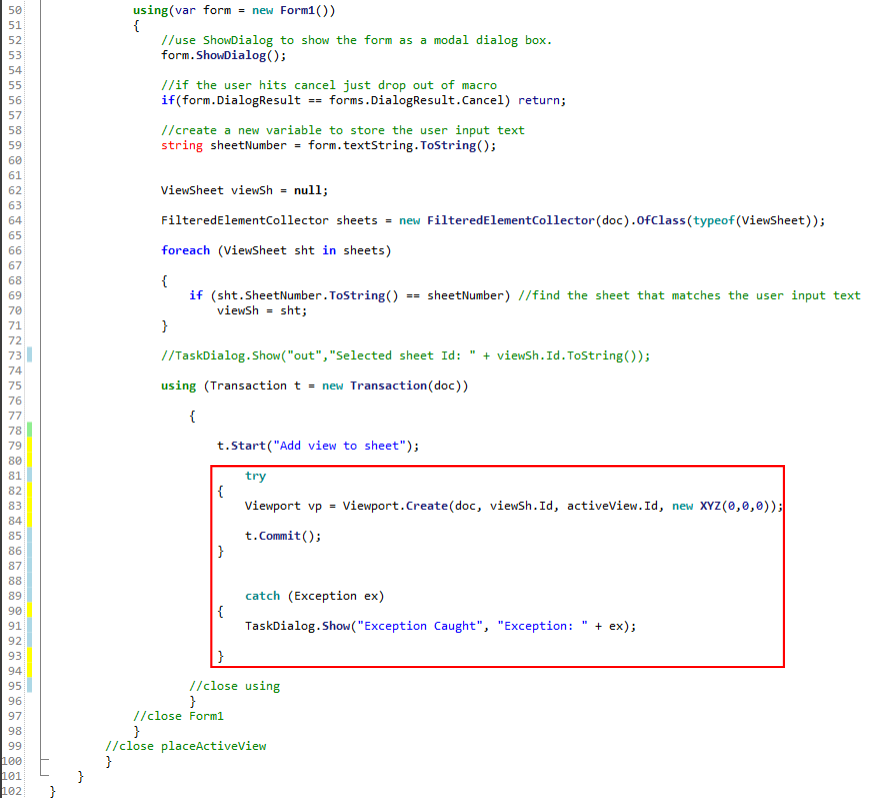
So now we have all the elements to use the Viewport.Create method:

but to use it we need to start a Transaction.
A transaction is a context required in order to make any changes to a Revit model. Only one transaction can be open at a time; nesting is not allowed. Each transaction must have a name, which will be listed on the Undo menu in Revit once a transaction is successfully committed.
For best practice, any transaction should be enclosed in a ‘using’ block or guarded within a try-catch-finally blocks to guarantee that it does not out-live its scope.

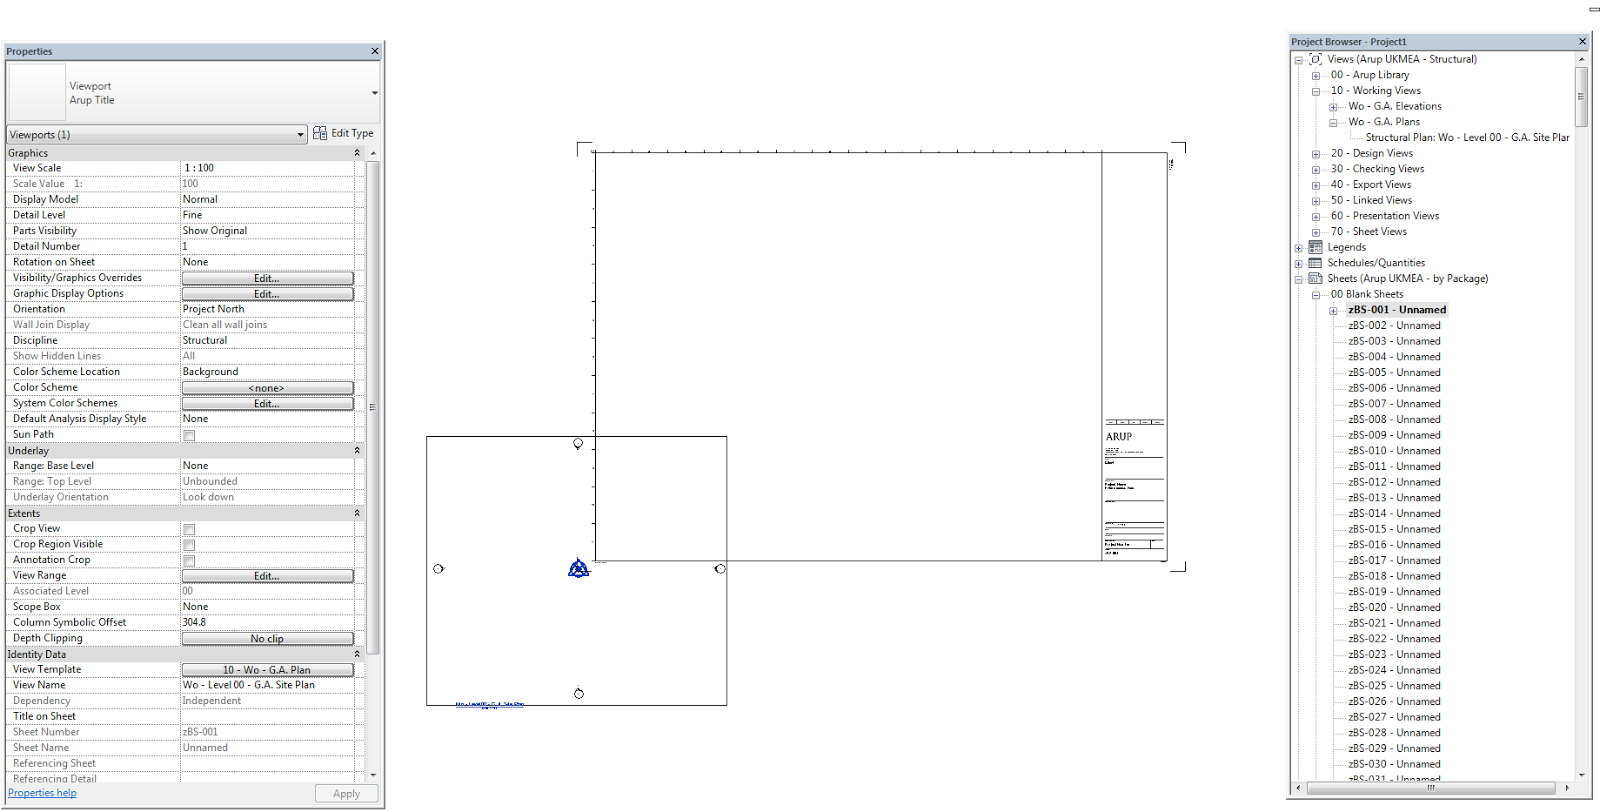
If we build our macro and run it the active view will be placed on the sheet zBS-001 at coordinates (0,0,0):
So how can we ask the user to input the Sheet Number? We need to create a Window Form. I learned about Window Form from this tutorial by Matthew Nelson.
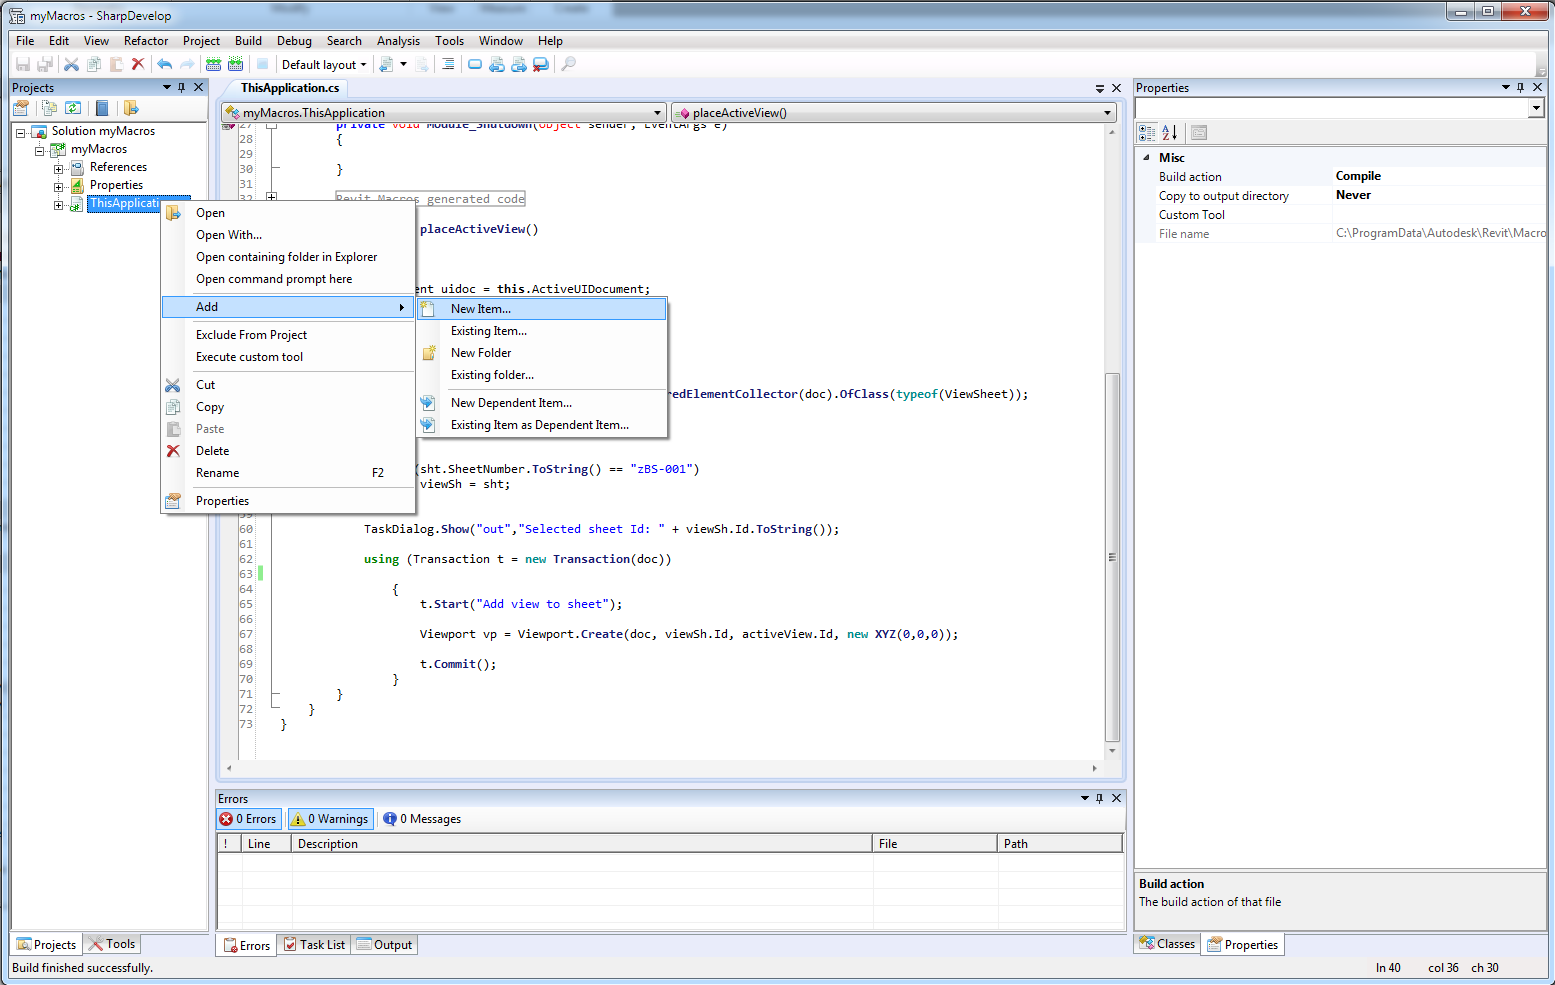
Right click on ThisApplication.cs in the left project window, Add, New Item…
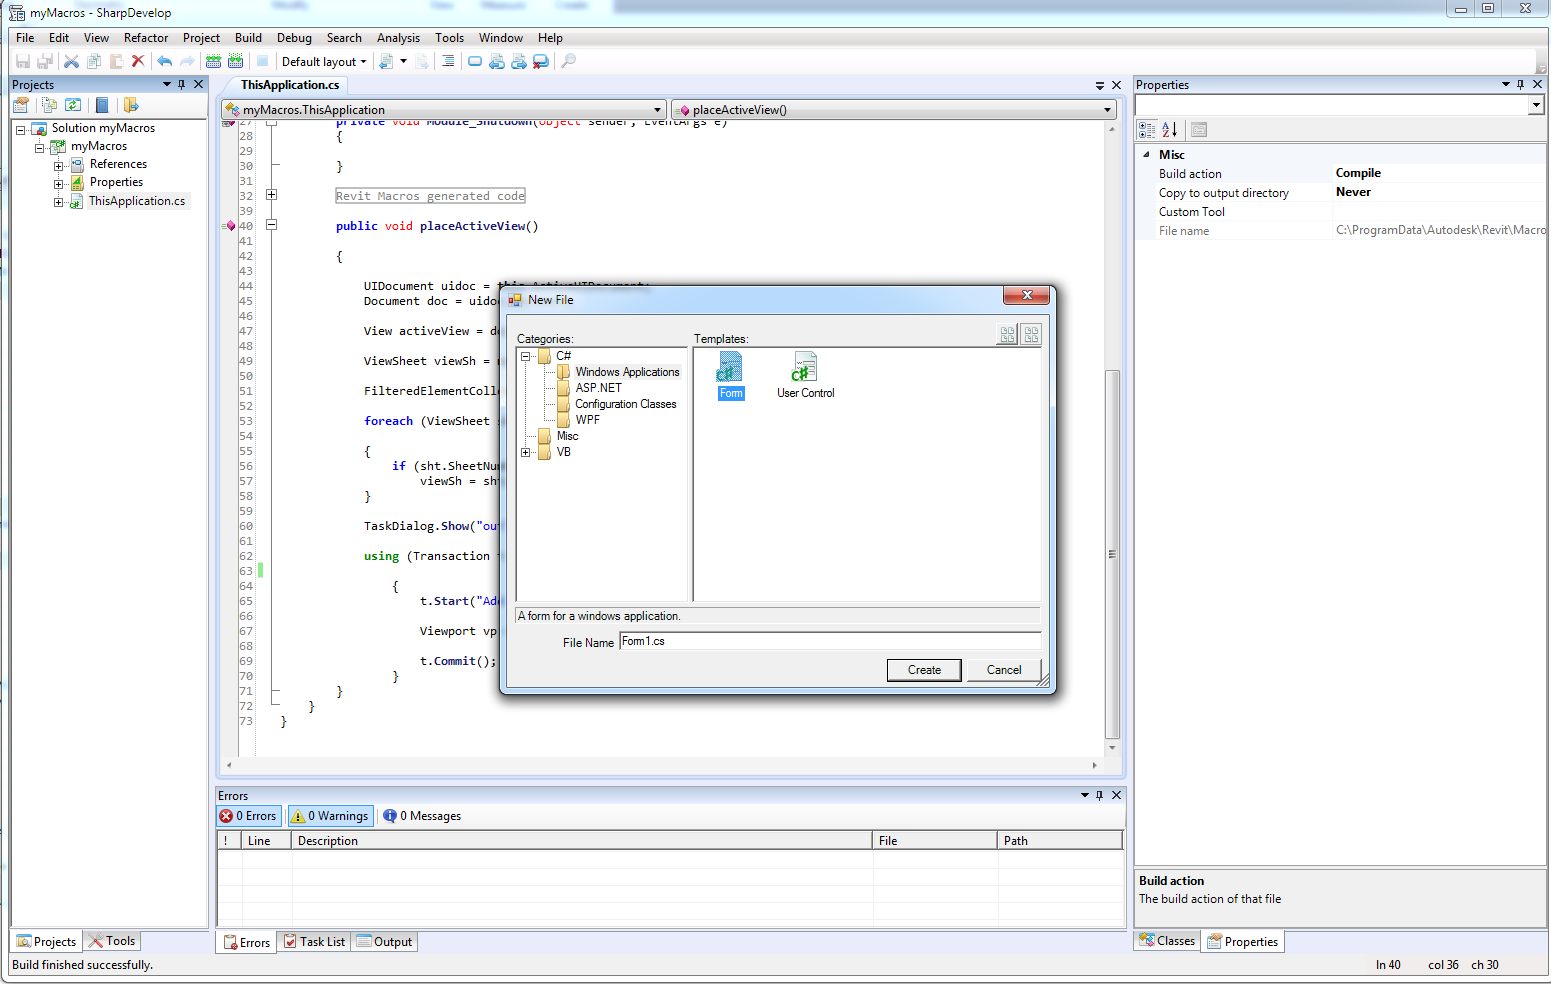
…Form and Create.
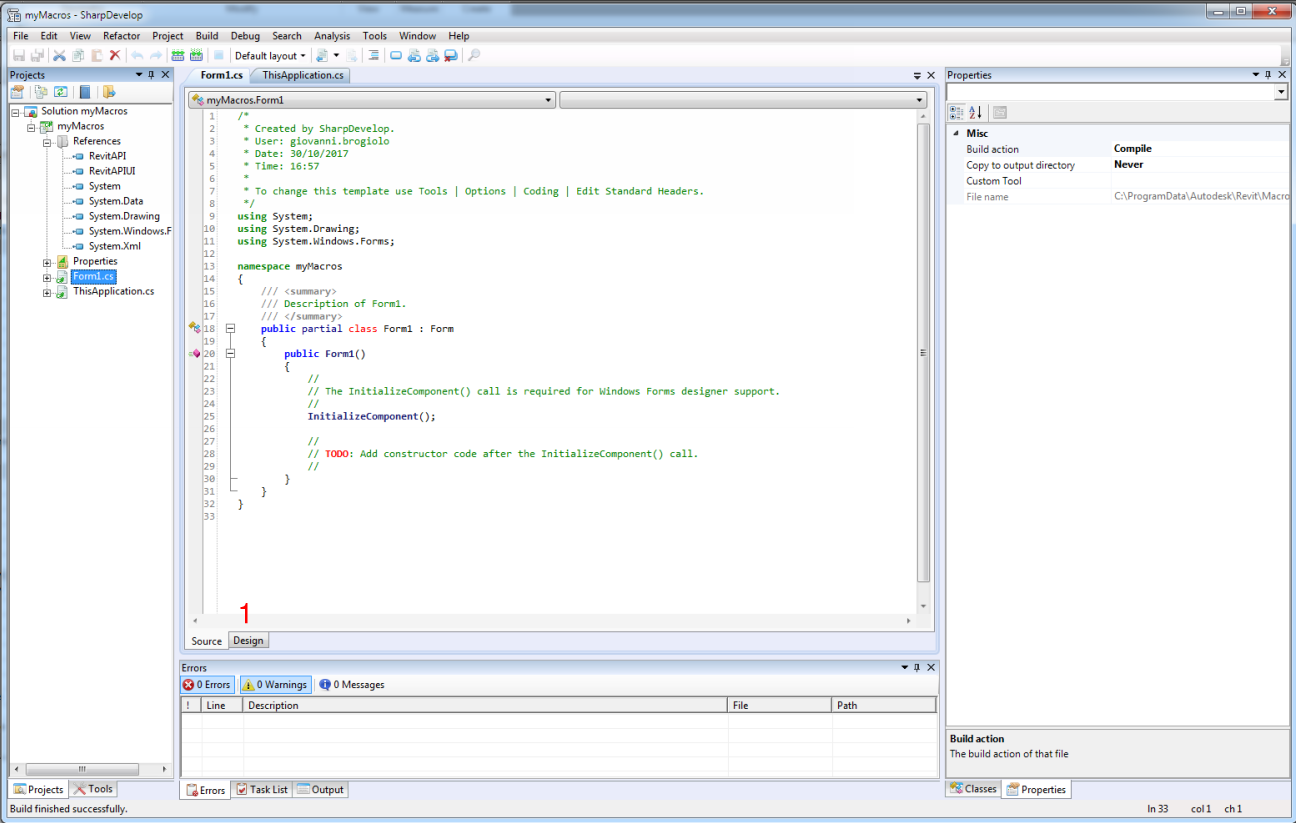
Open the Design Form
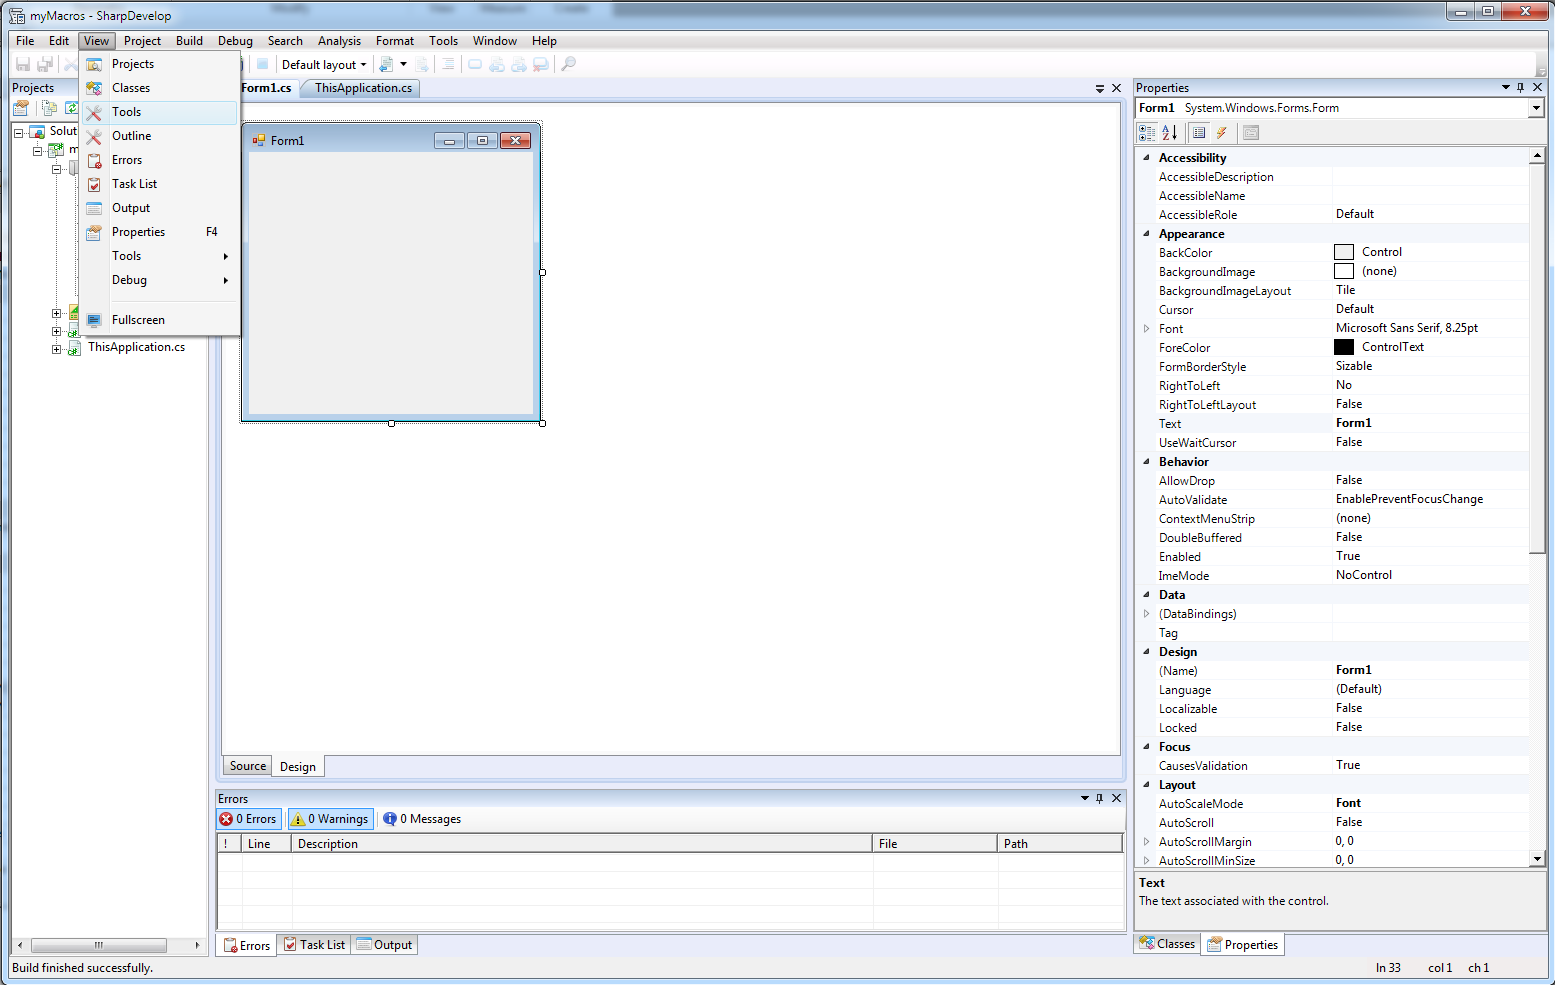
Open the Tools bar from View:
Click on the Windows Forms folder
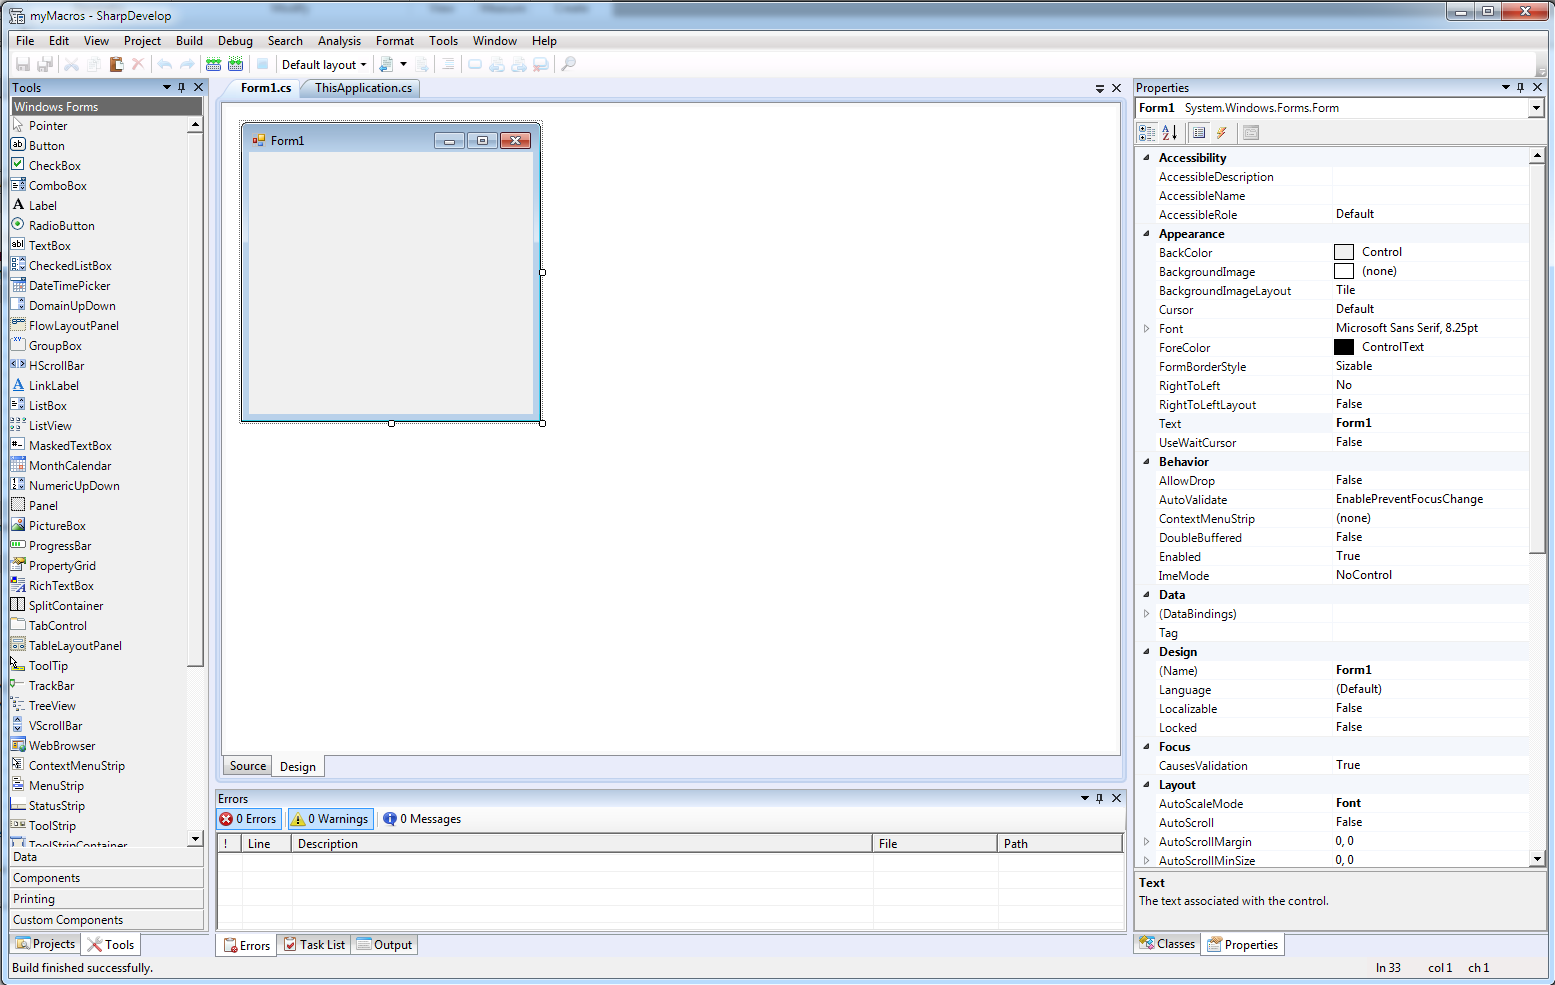
If you leave the custom properties the window will appear at the “WindowsDefaultLocation”. We can make it appear at the Centre of the Screen simply selecting this value in the Layout - Start Position field:
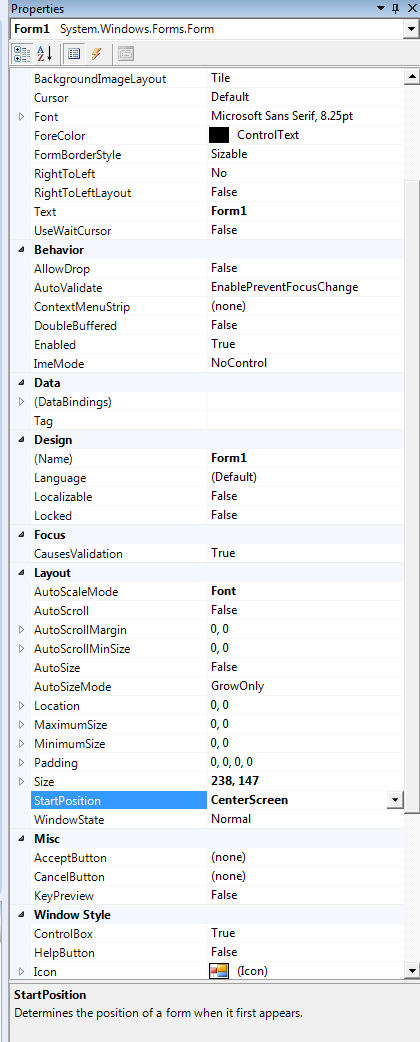
Then draw a Label and a Text Box. Select the Label and in the Properties window change the Text to something meaningful.
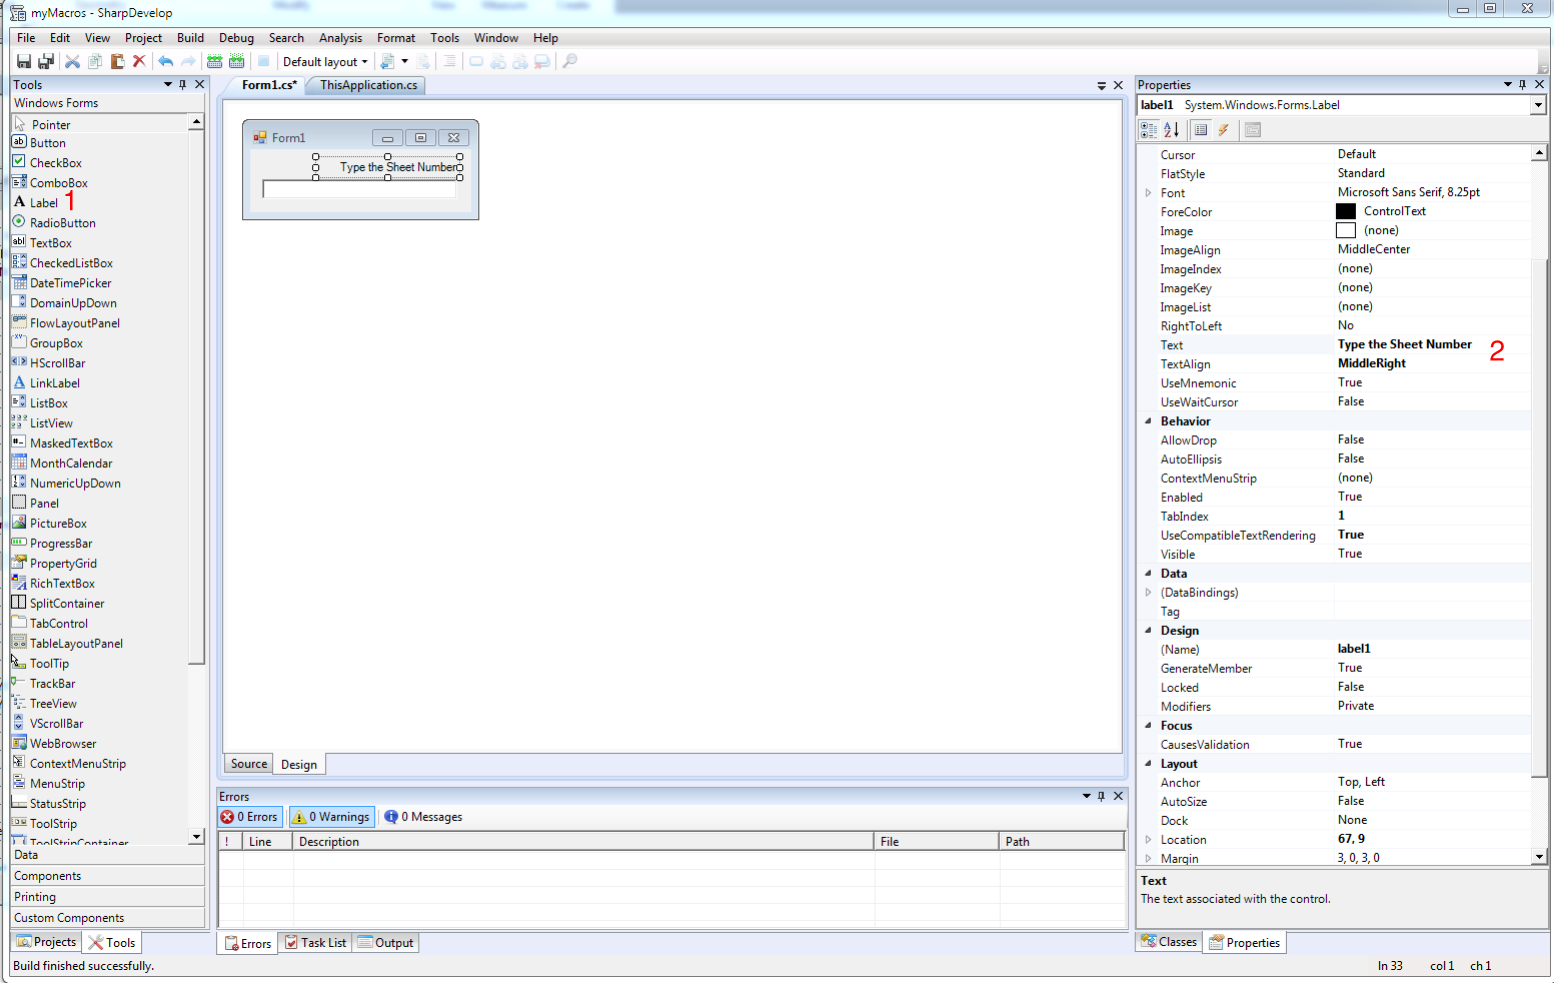
Then select the text box and check its name (“textBox1”) as we will need it later.
Then let’s add two buttons, Ok and Cancel.
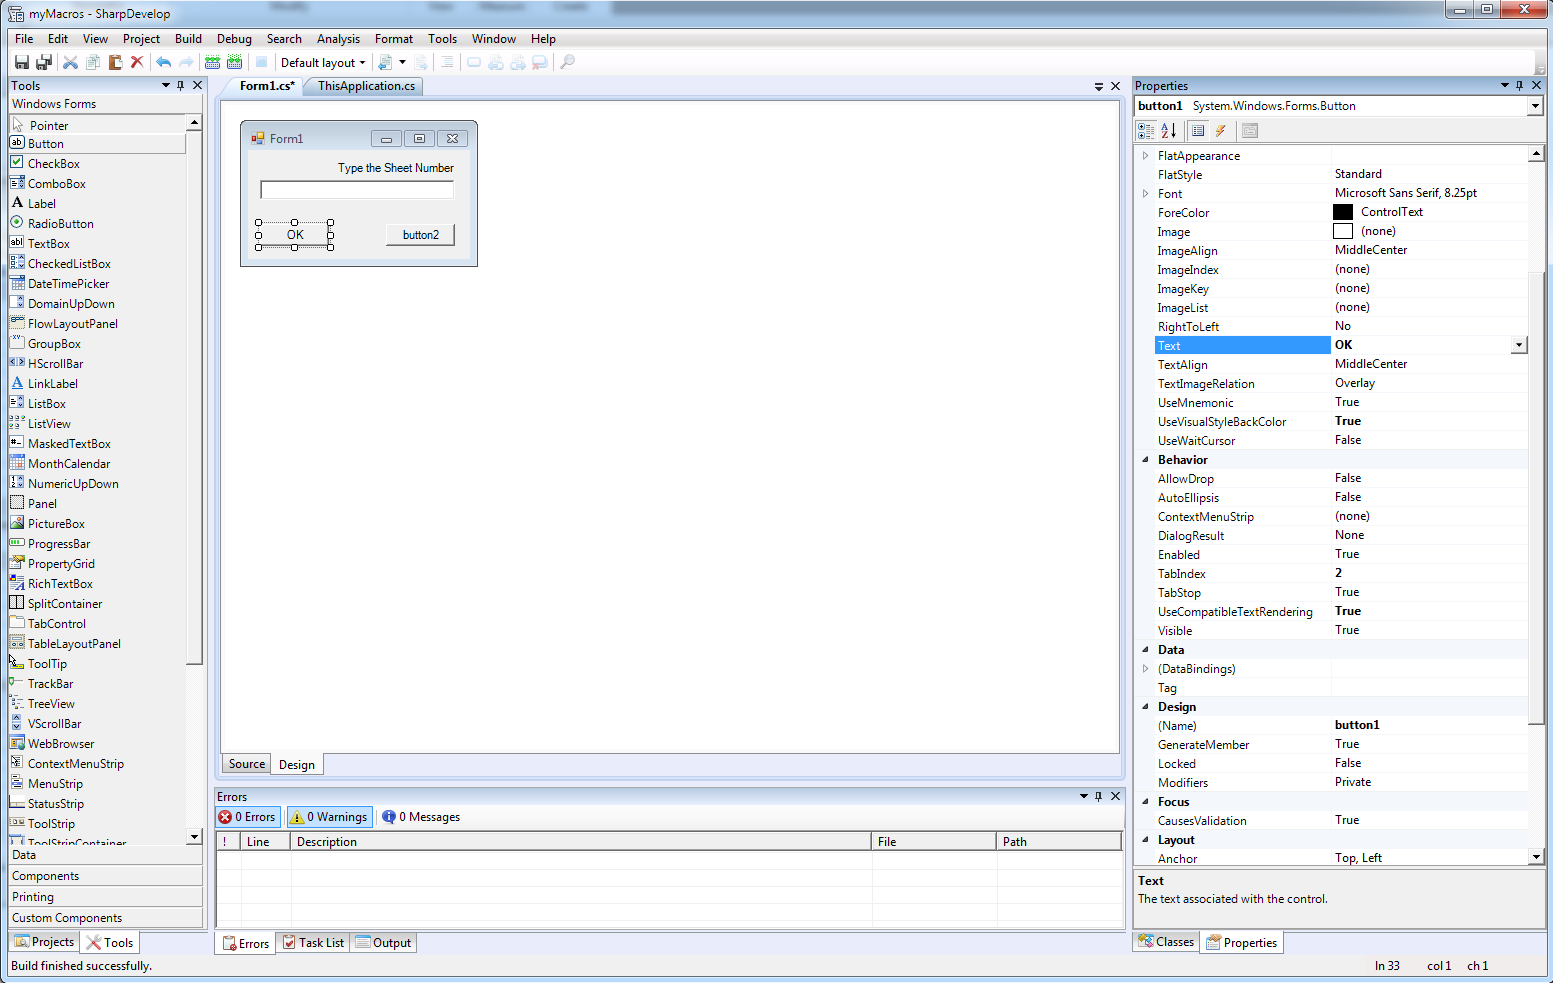
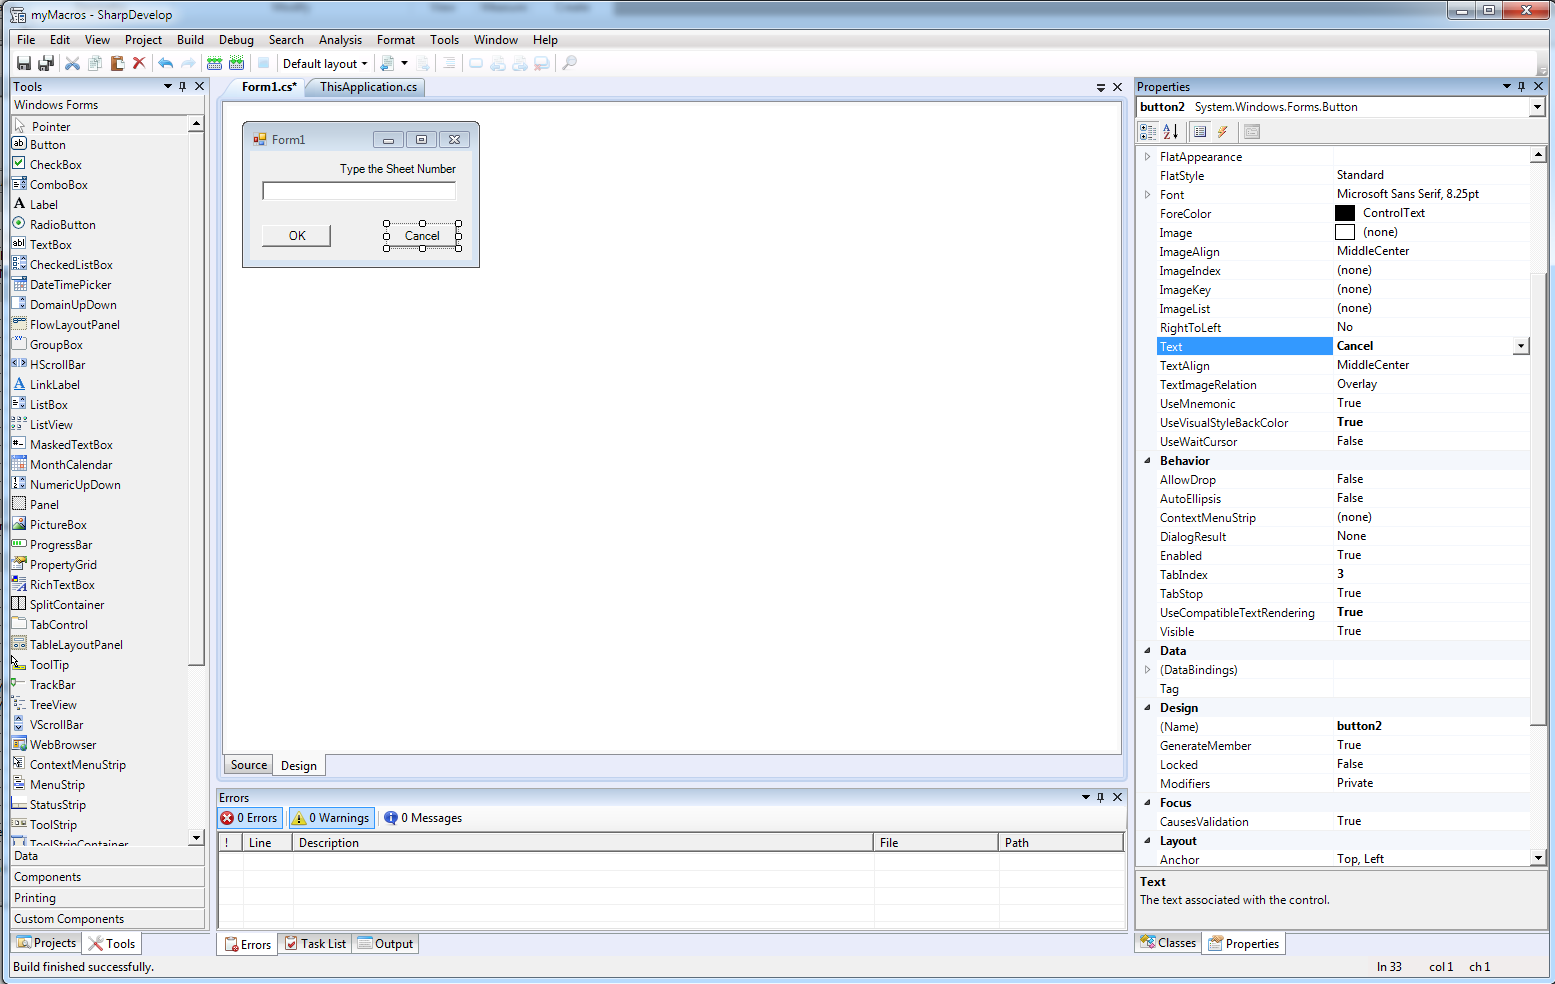
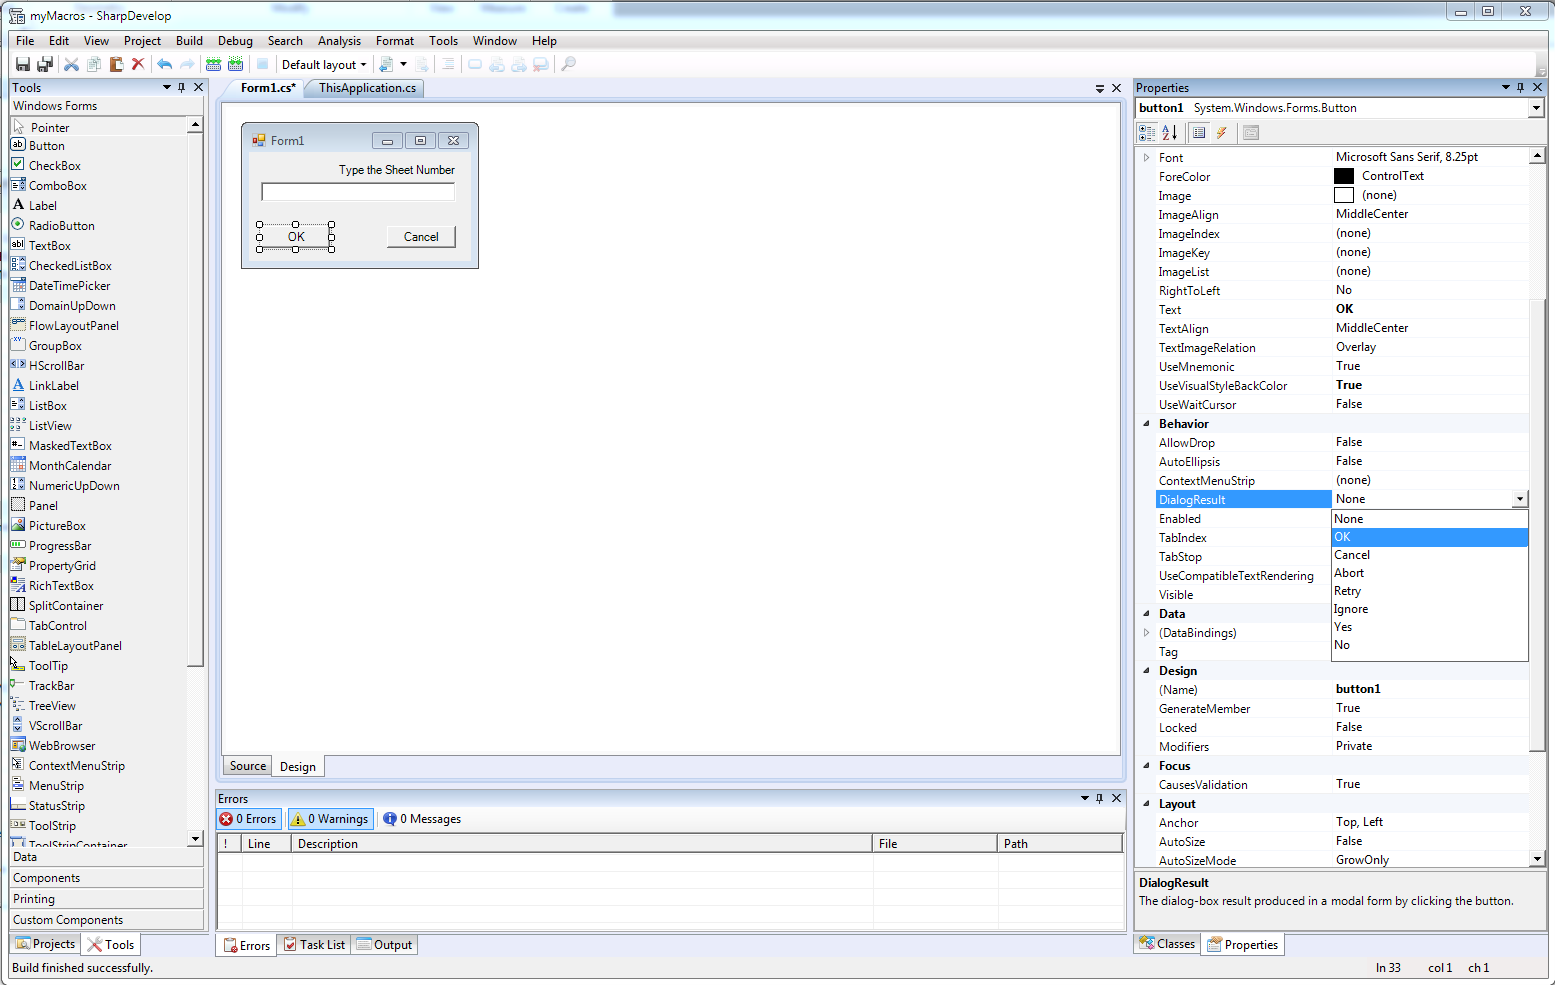
And set their Dialog Result to OK and Cancel respectively. This will close the Form and save or cancel the result.
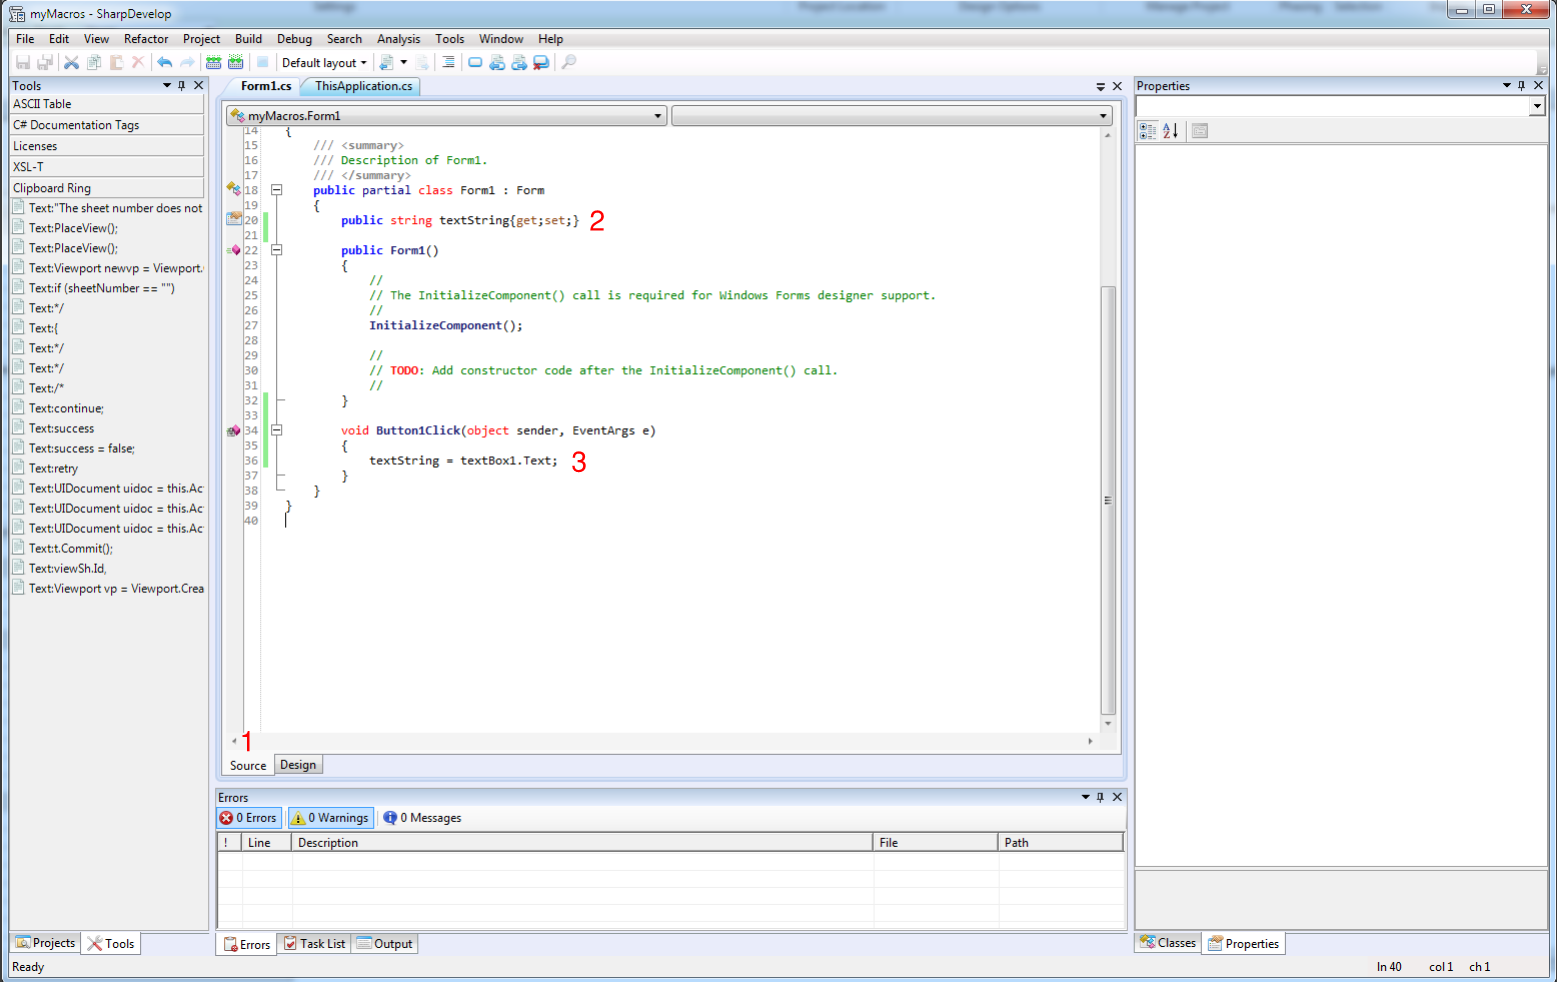
Then double click on the OK button. This will open the Source Code of our Form1 and will create a void Button1Click() class. We need to store the Sheet Number that the user will type in the text box into a string:
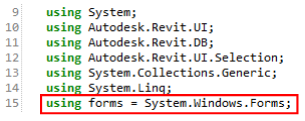
We can then go back to ThisApplication.cs and import the System.Windows.Forms library in our code:
and place the body of the code we have written so far inside an instance of the Form1:
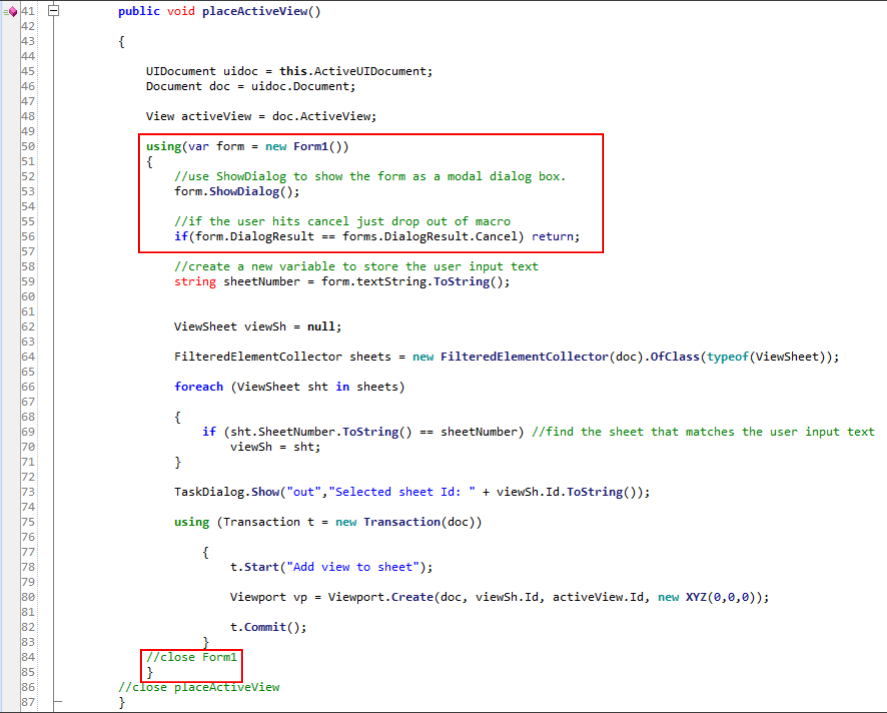
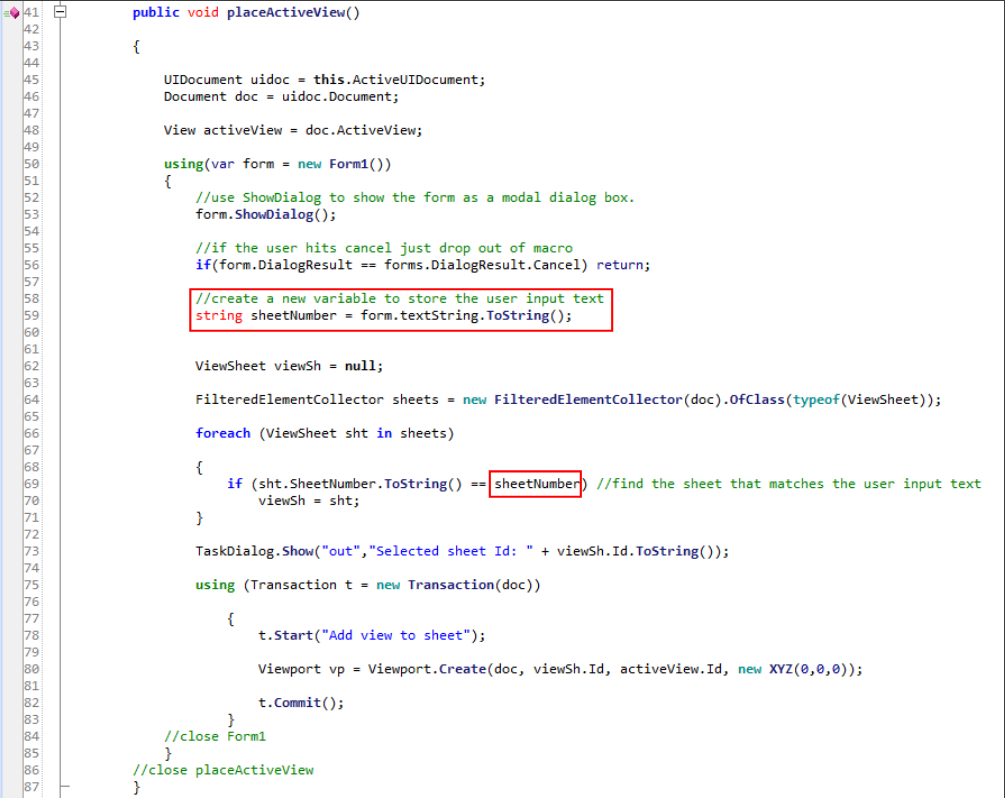
We also need to store the user input into a variable (sheetNumber) that we will use to filter the list of Sheets:
Now we can build the macro and test it.
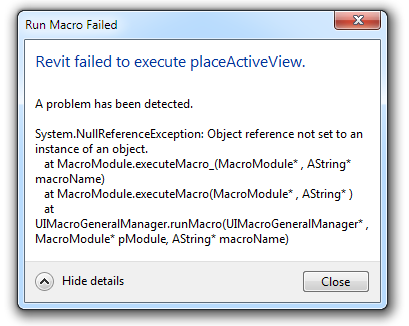
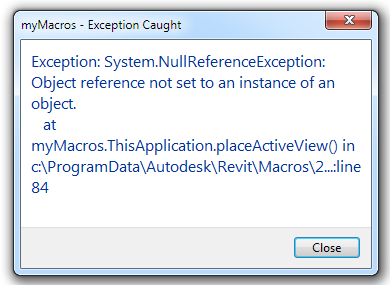
You will notice that if you leave the text box empty or you write a sheet number that does not exists Revit will throw an error:
In order to give the user a more meaningful error message we can use the try and catch statements. Try-catch statements are used to “try” and execute a piece of code and then “catch” any exceptions which are generated if the code fails to execute correctly. This means that instead of your application crashing, you can display an error message or handle the exception appropriately.
Before using the try and catch statements let’s comment the first TaskDialog.Show otherwise we will get an error:
Then we need to place the Viewport method inside the try statement and the TaskDialog in the catch statement.
If we build the code, run the macro, leave the text input empty and press OK we now get this TaskDialog:
We can personalise the message and make it more meaningful adding these lines of code:
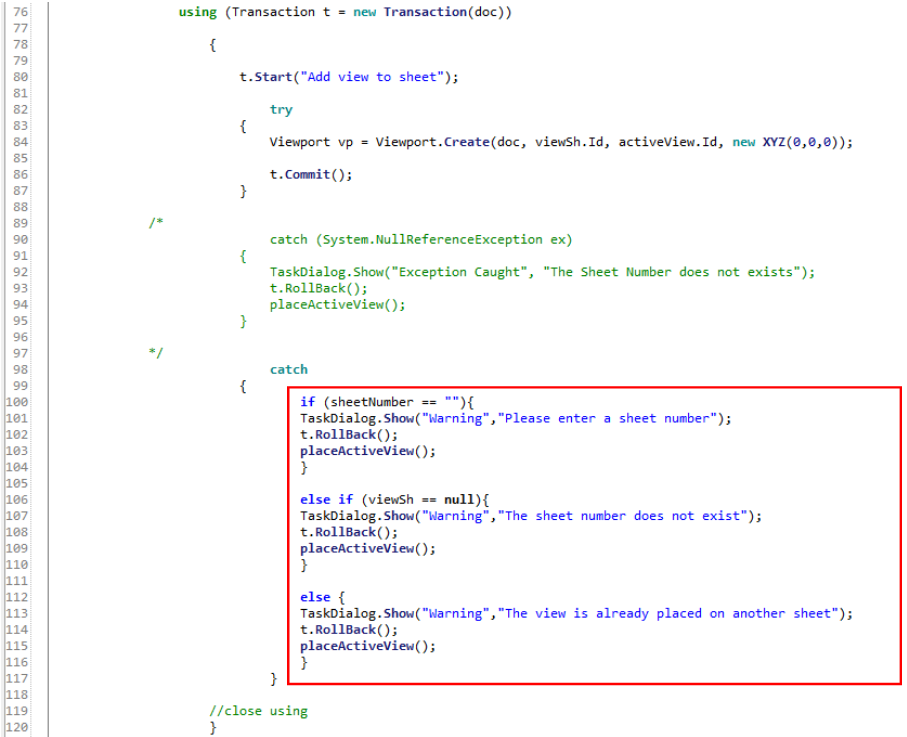
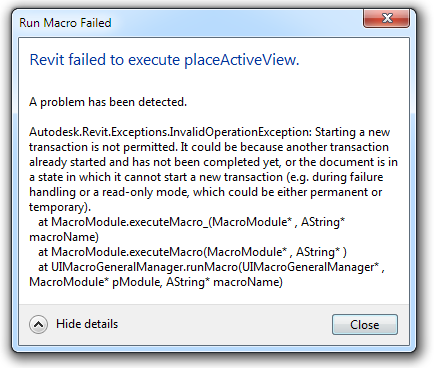
The first if statement will catch the exception that occurs when the user leave the text box empty. It will show a Task Dialog and display a message. Then it will Roll Back the Transaction and re-execute the macro so the user will be presented the Form Dialog again. We are using the Roll Back not to discard the changes we have made to the model (we haven’t made any) but because the Transaction we started in line 80 has not been completed yet and if we re-execute the macro without Roll Back the Transaction we will get this error during the second execution:
The second if statement will deal with the exception arising when the input sheet cannot be found in the Revit sheet list. And the else statement will cover the possibility that the view is already placed on another sheet.
The complete macro can be downloaded from here.
To convert it into an external add-in we can copy and paste the code in VisualStudio with minor amendments, recreate the form and build it.
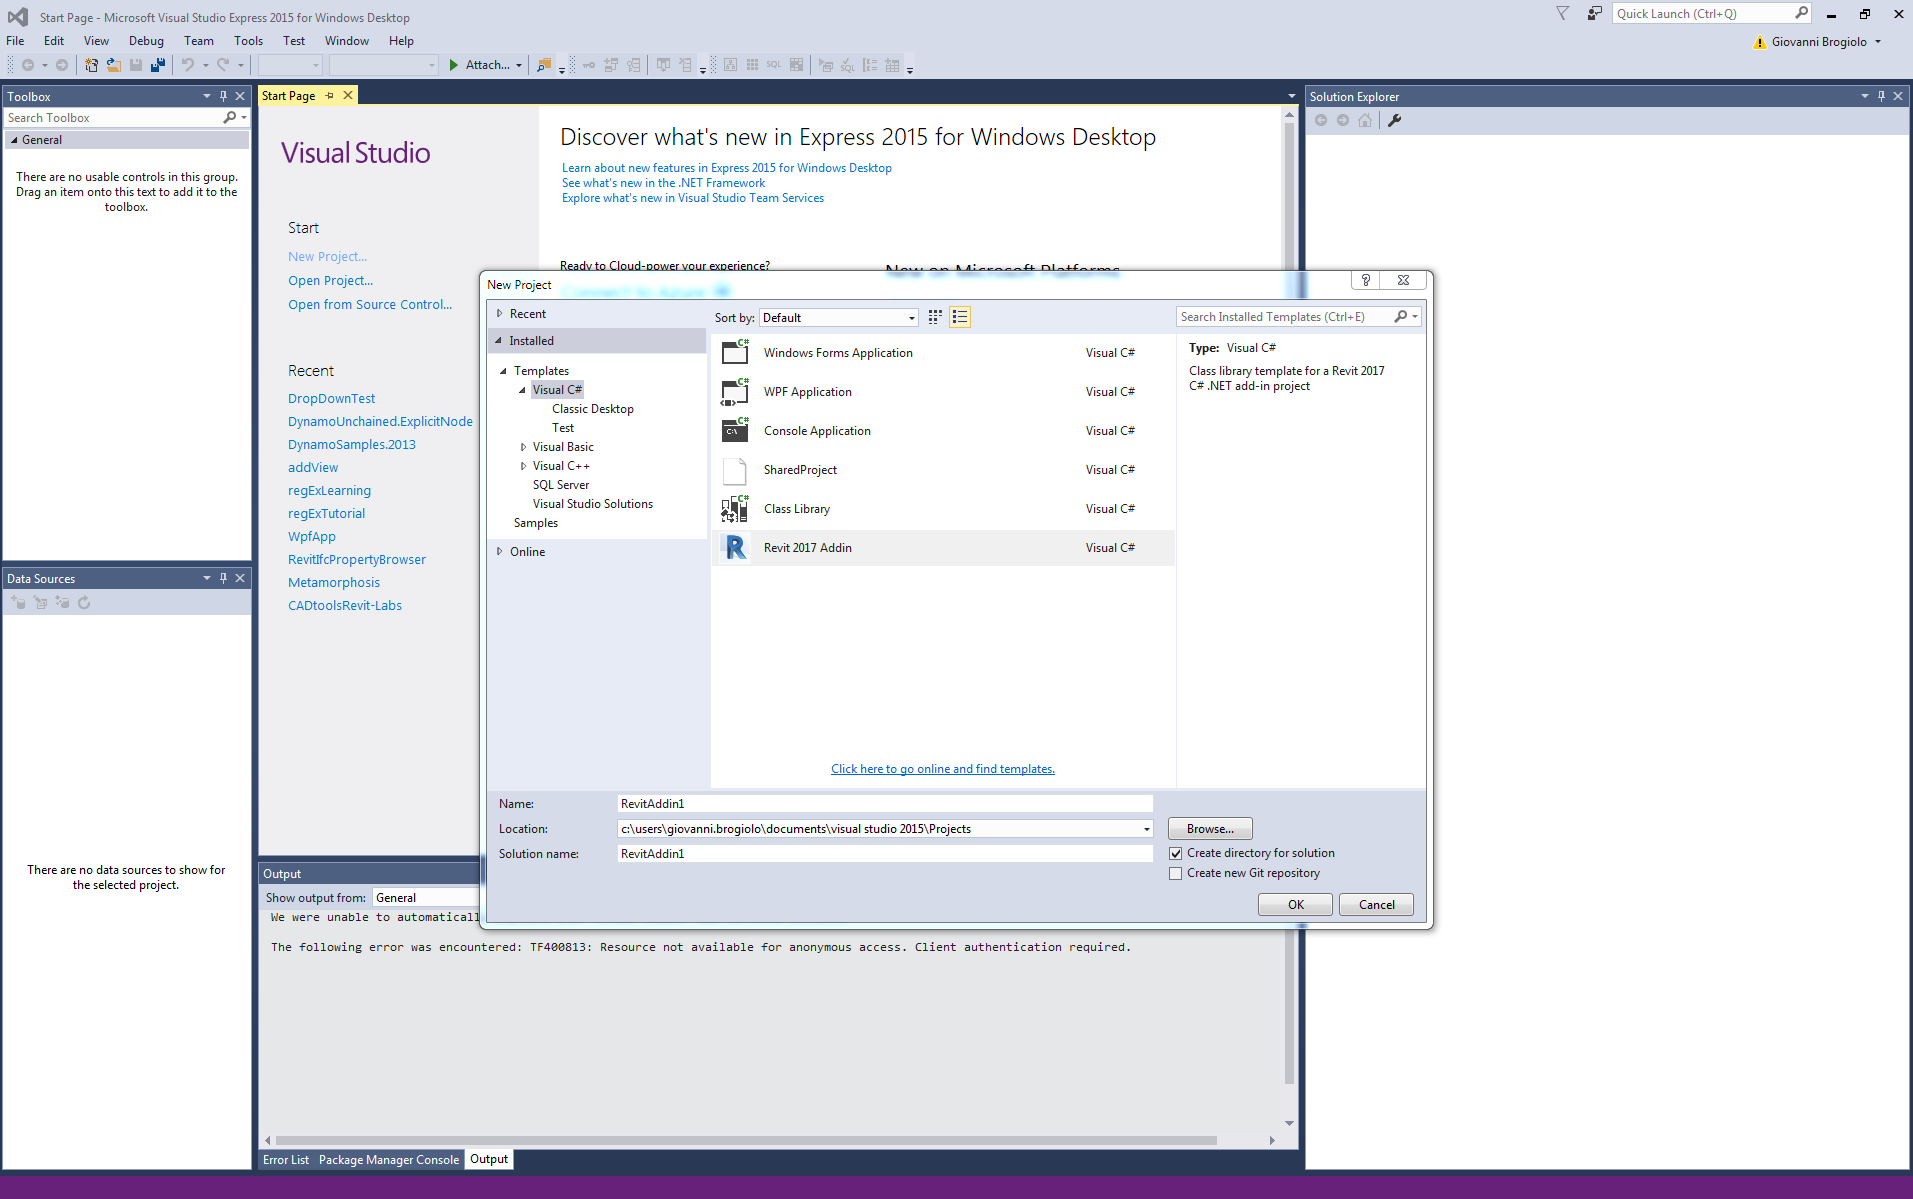
Start a new project and select the Revit add-in template:
The add-in can be downloaded from Jeremy Tammik’s blog
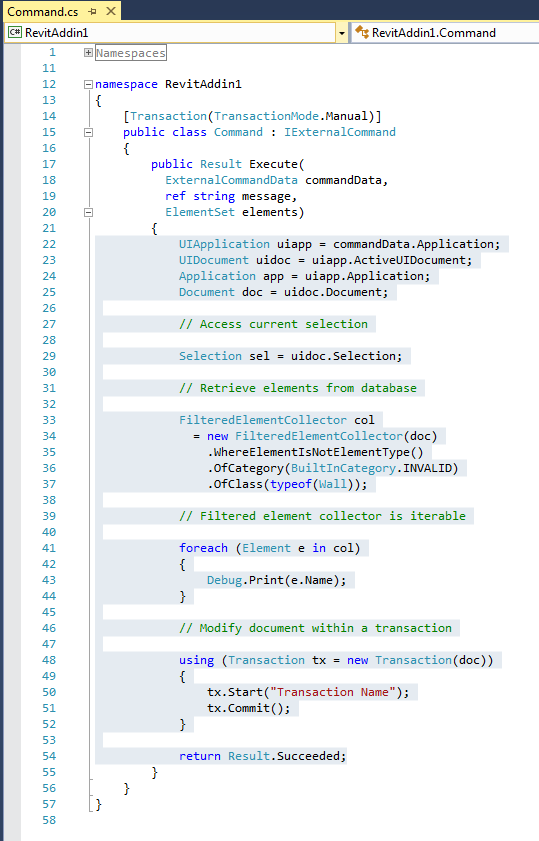
Replace the highlighted code with the one created in the Revit macro:
To access the active session of Revit we need to create a new UIApplication and then we can access the project opened:
UIDocument uidoc = this.ActiveUIDocument;
becomes:
UIApplication uiapp = commandData.Application;
UIDocument uidoc = uiapp.ActiveUIDocument;
If we follow the same steps as in the macro we will then be able to launch the command fromt the External Tools add-in and to assign a keyboard shortcut to it.